Air Fryer Garlic Bread

Posted: 08/25/26
This post may contain affiliate links. Please read our disclosure policy.
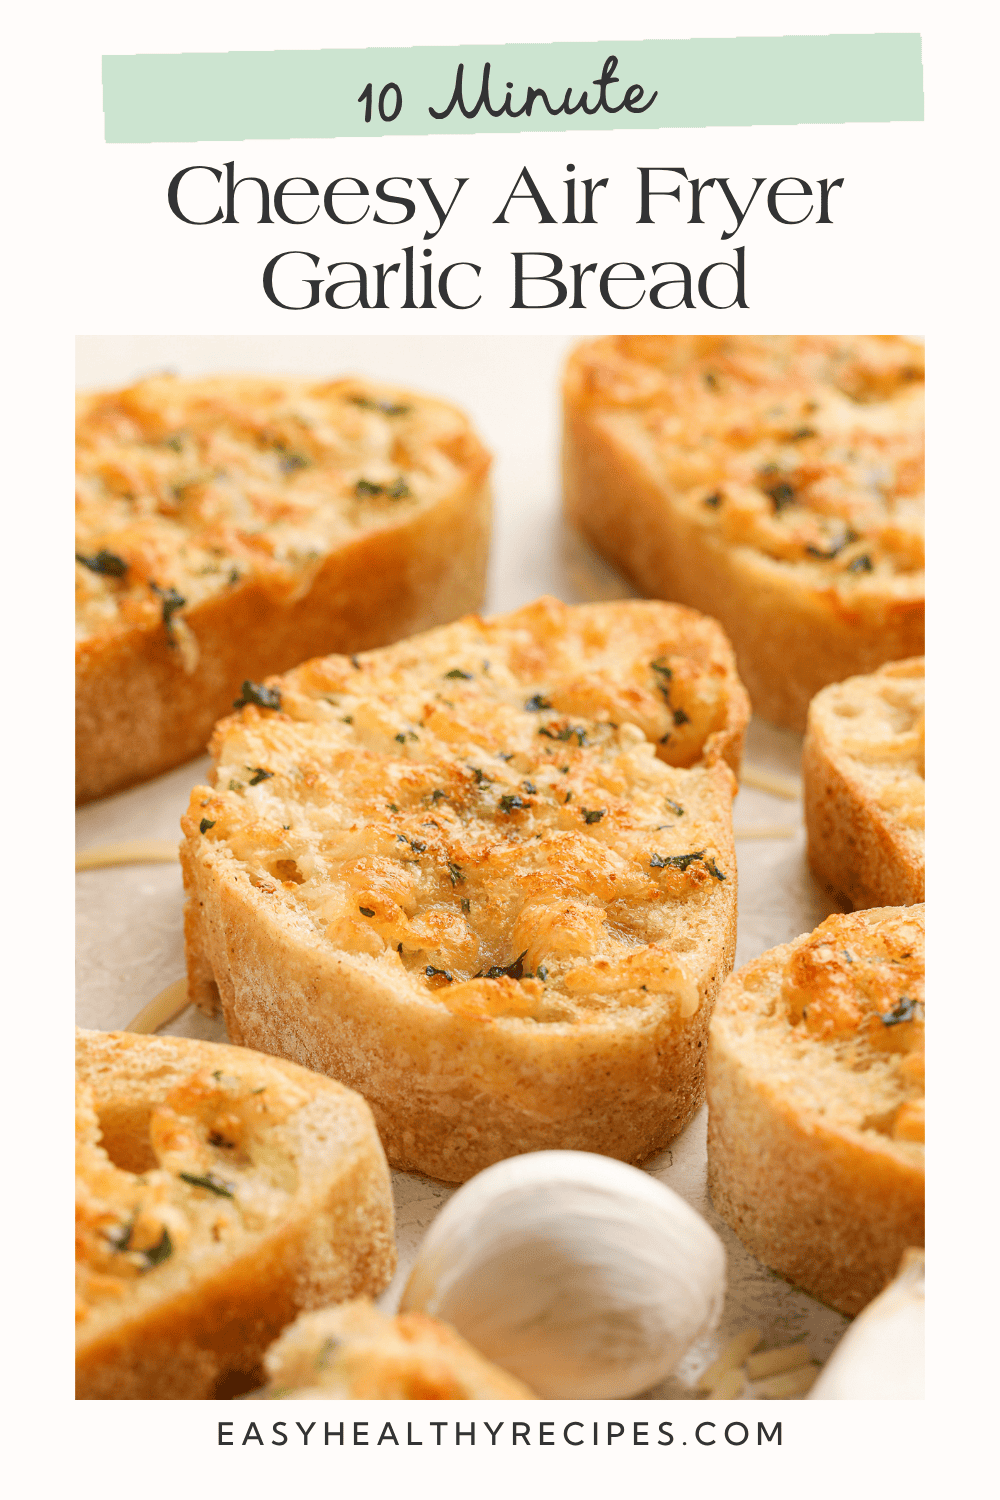
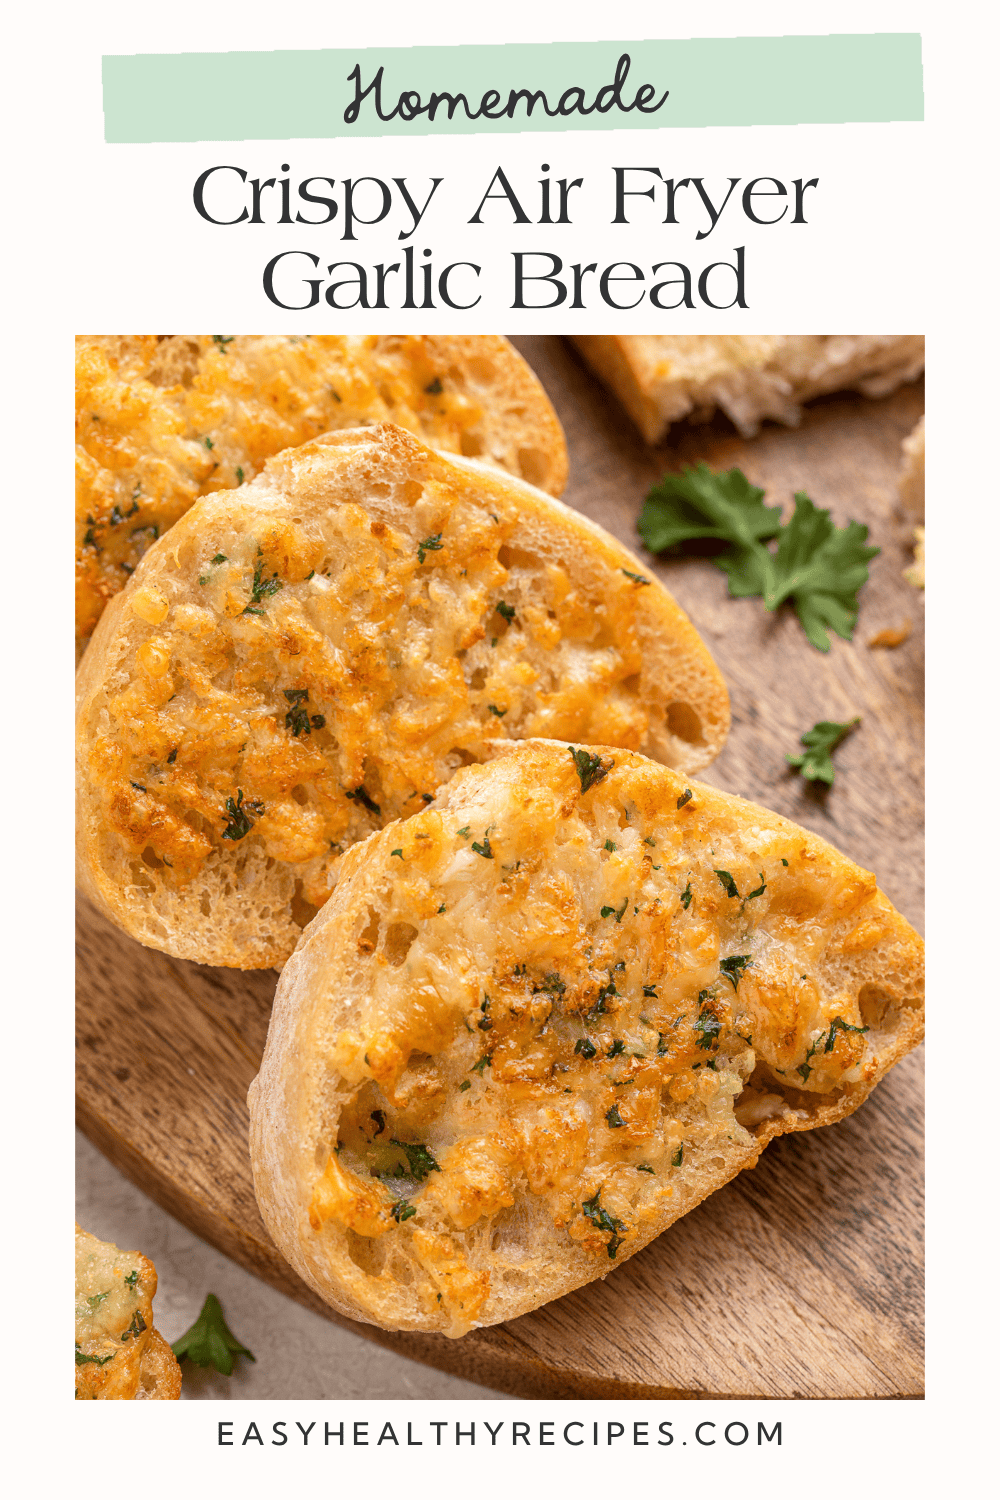
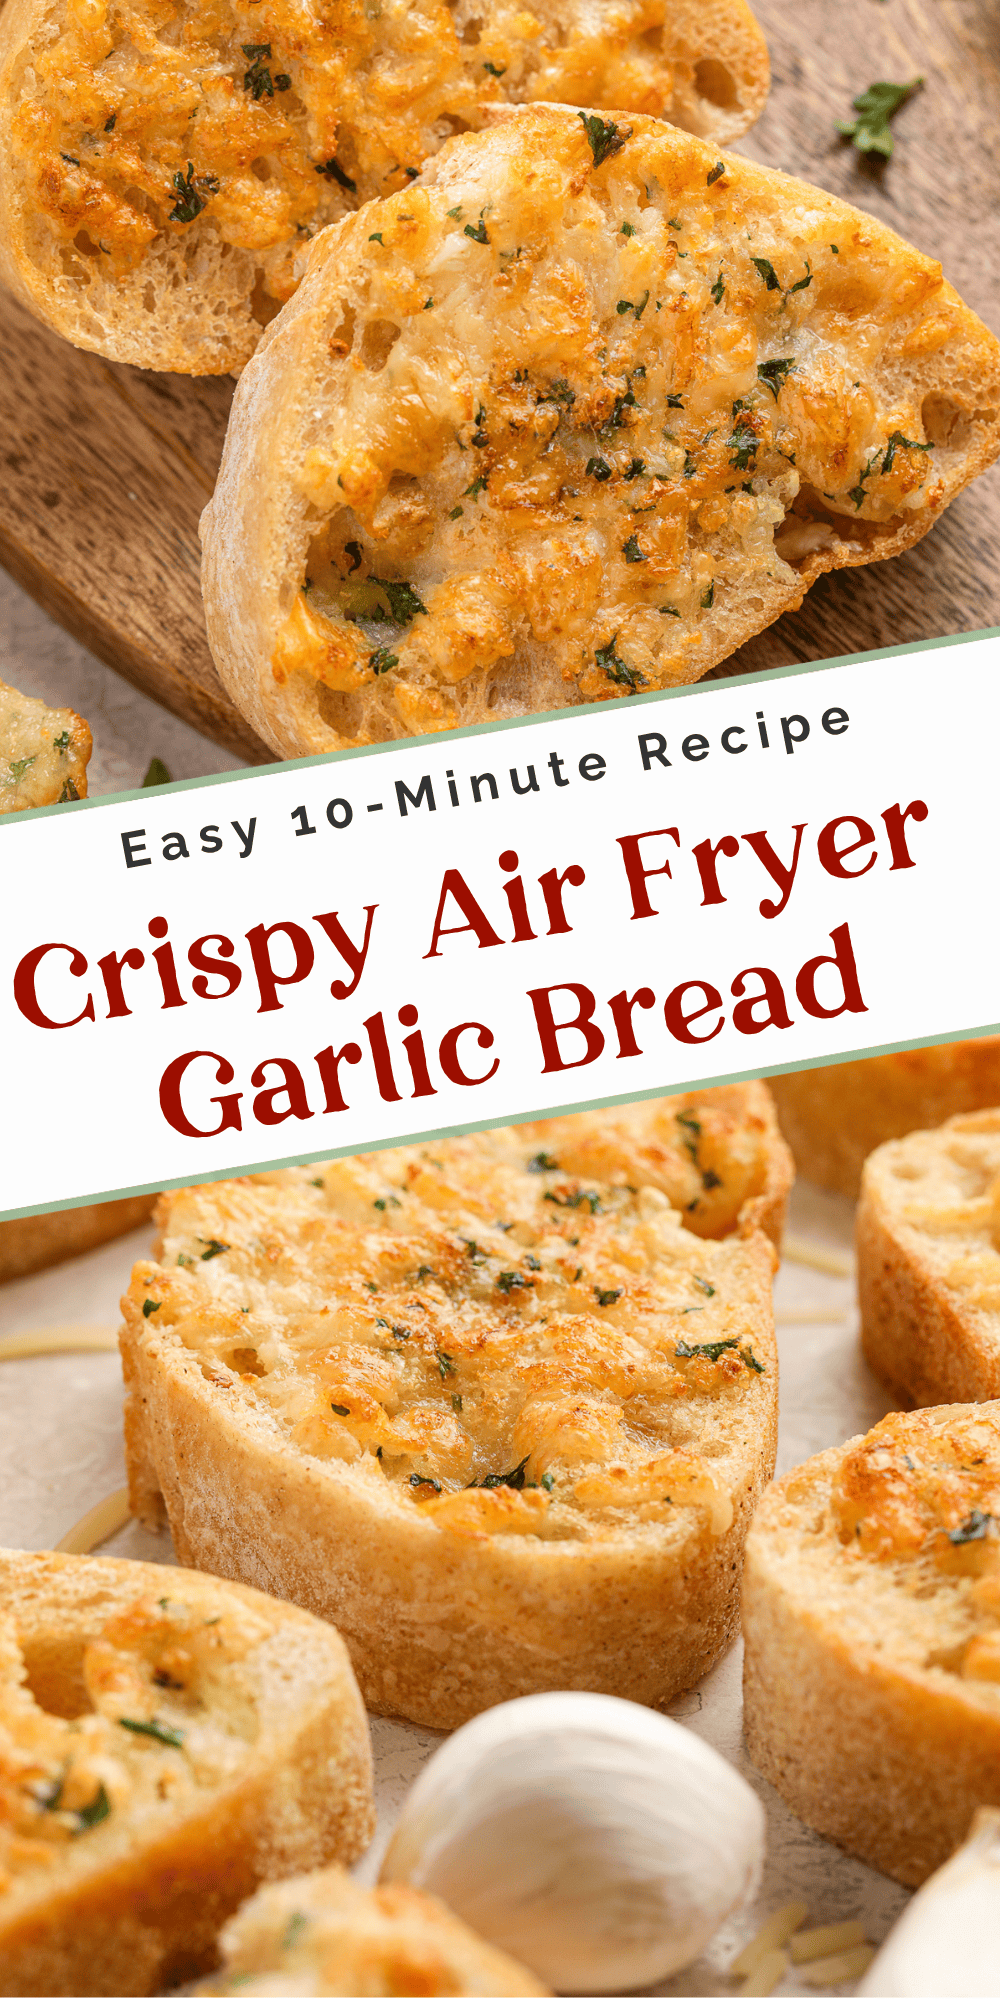
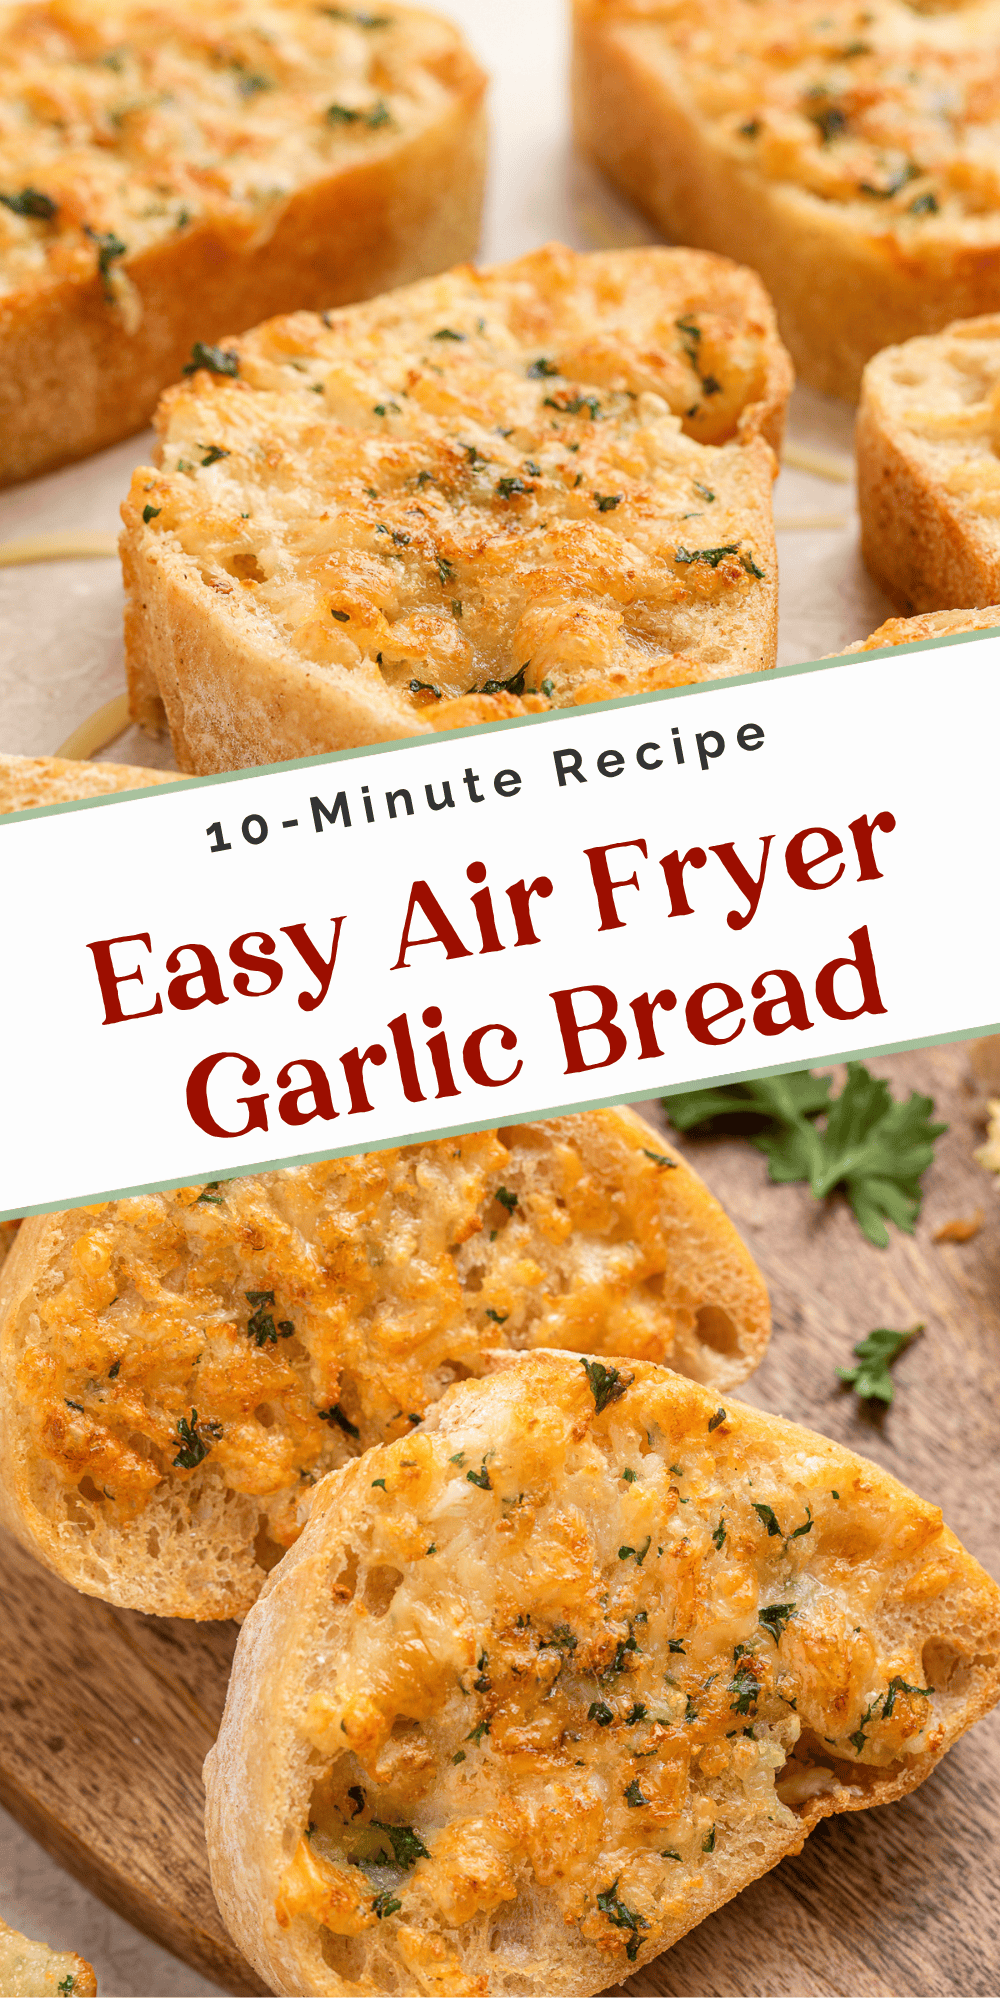
This Air Fryer Garlic Bread is golden, crispy, and ready in under 10 minutes. Thick slices of French bread are slathered with a homemade garlic butter spread and topped with parmesan and parsley, while the air fryer does the rest. It’s the most delish side dish for pasta night, or you can dip it into marinara sauce for a quick kid-friendly snack!
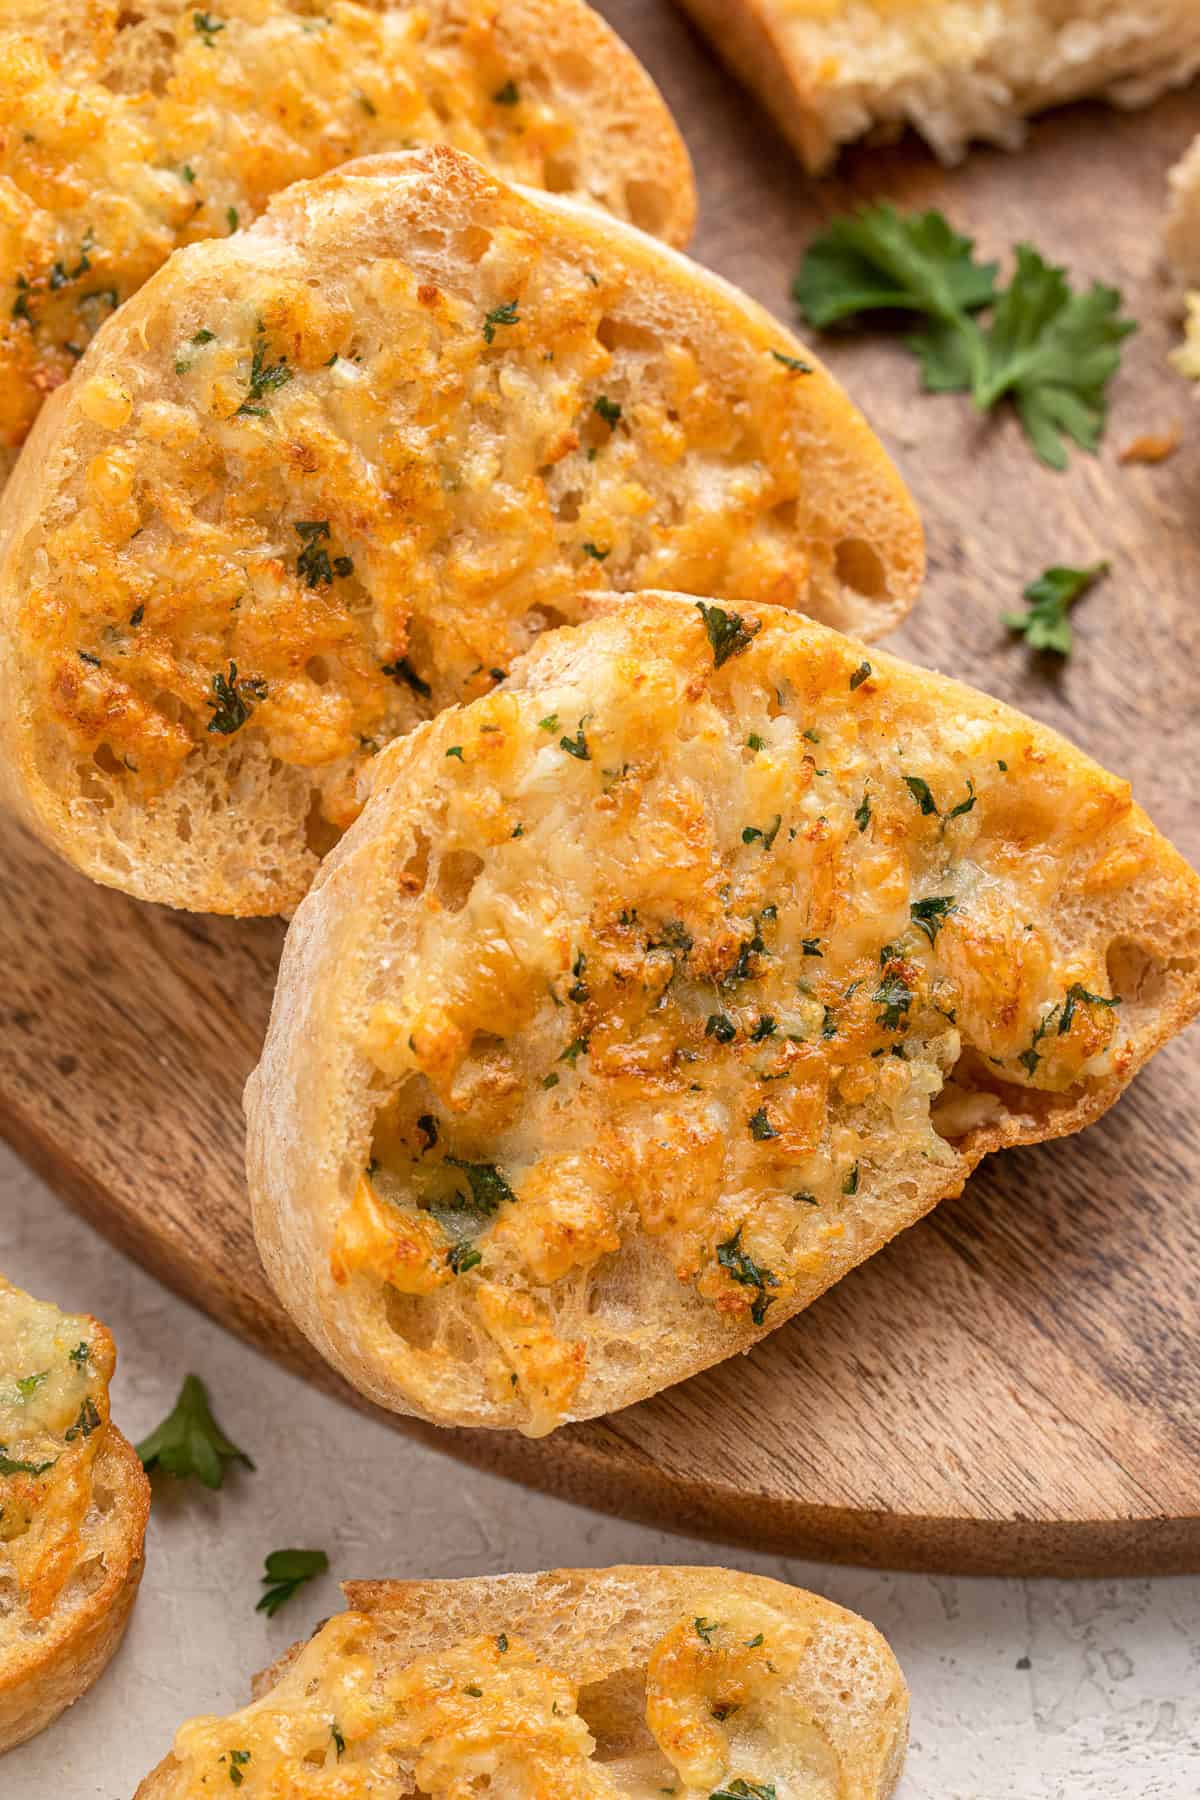
What Makes This Air Fryer Garlic Bread So Tasty
- The air fryer heats fast, so this garlic bread goes from counter to table while the pasta finishes cooking—one and done in only 10 minutes!
- Whenever I test a recipe, real ingredients matter, and It’s the case here! Fresh garlic, real butter, and genuine parmesan beat frozen garlic bread every time. And you can customize it: extra garlic, more cheese, or a lighter bake; it’s all your call.
- Air frying circulates hot air, which crisps the butter-coated top nicely while keeping the bread soft and chewy underneath. This is why some things just taste better because of the air fryer.
Cheryl’s Tested Notes & Tips
- Be careful not to overcrowd your basket! It’s a thing we do because the desire to cram as much as possible is common! I place slices in a single flat layer with no overlap because I don’t want unevenly cooked garlic bread.
- Preheat for fast results. I usually preheat my air fryer to 360°F before adding the bread, which shaves off a minute or two and gives a more evenly crisp crust.
- The butter can smoke slightly as it melts. If this happens, add a tablespoon of water to the bottom of the air fryer basket.
- Check it at 3 minutes. Every air fryer runs a little different, so at about 3 minutes, I check the garlic bread; other air fryers may need another minute or two.
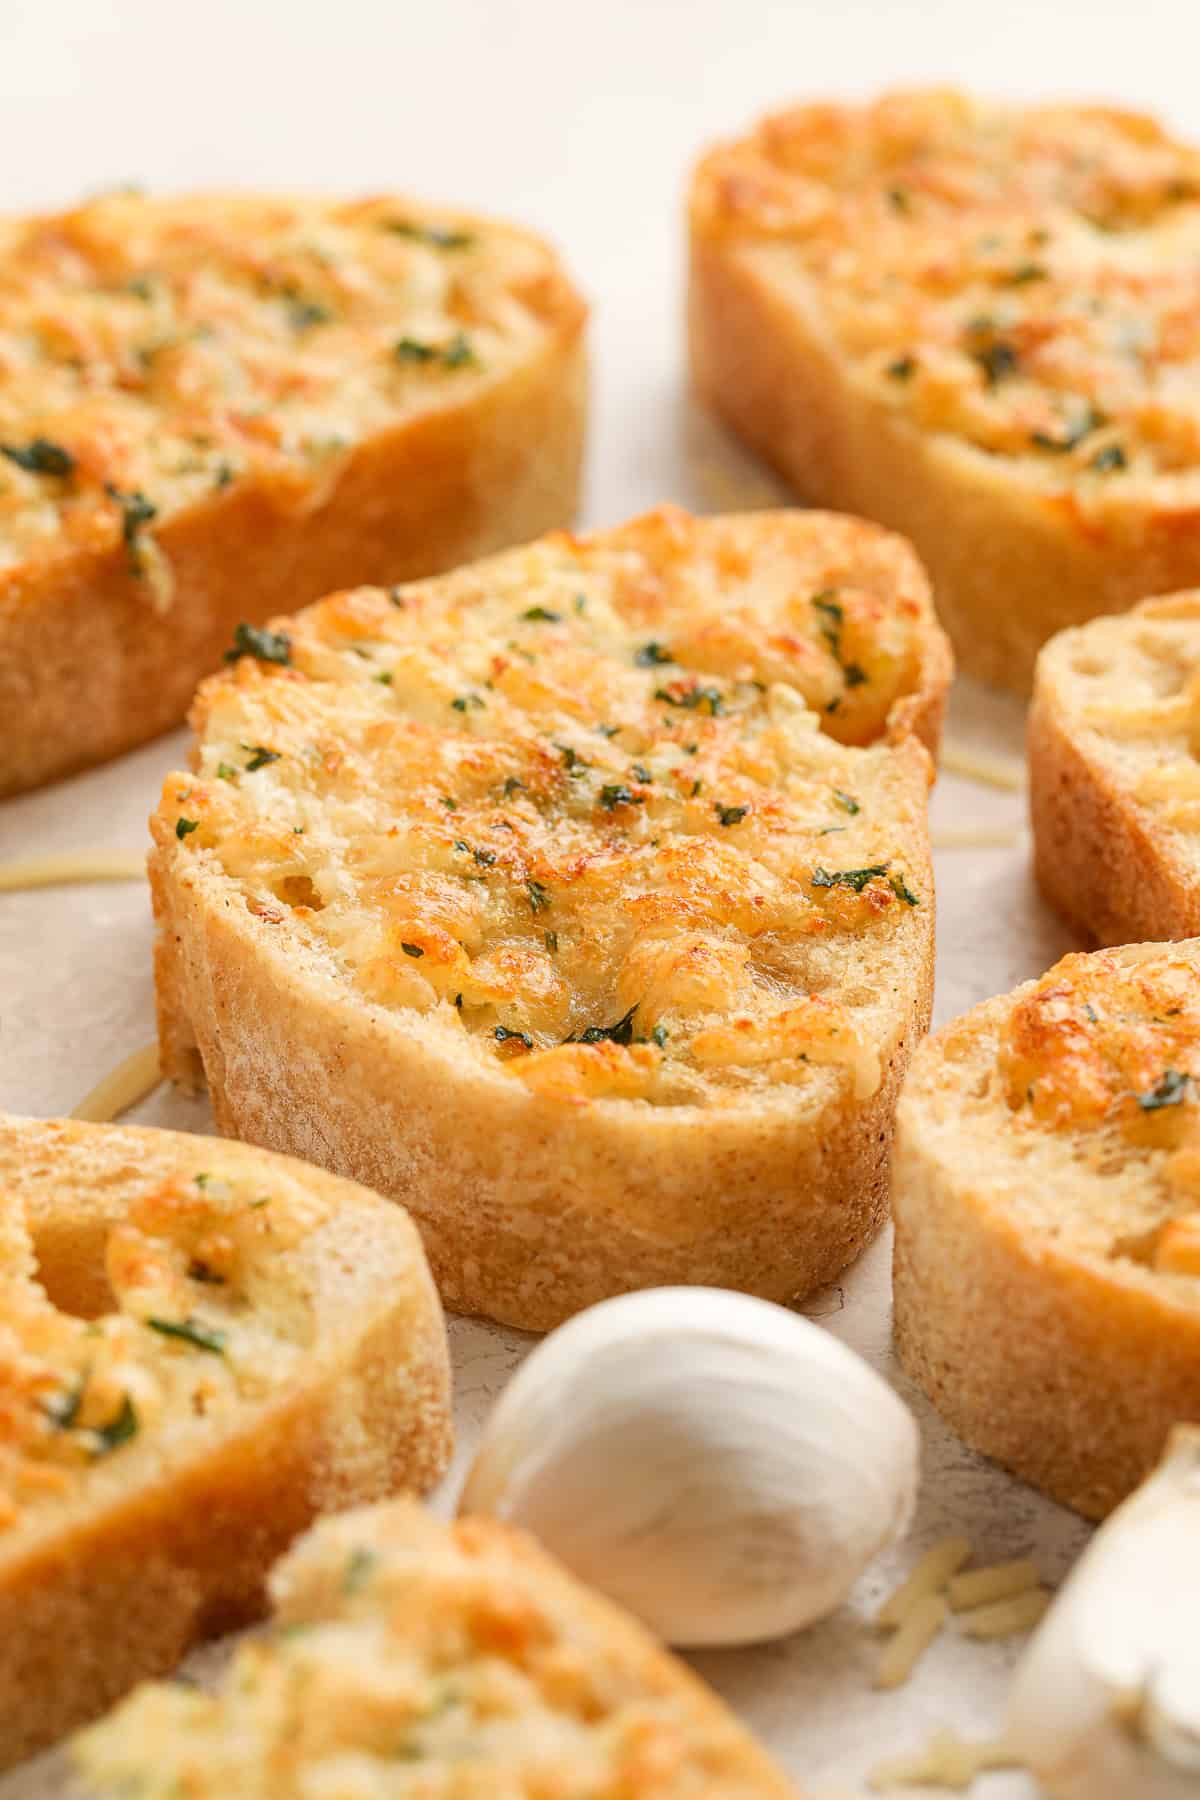
Ingredient Notes
- French bread creates a soft interior with a light, crispy crust. You can also use Italian loaf, ciabatta, or sourdough. I cut slices about ¾ to 1 inch thick for the ideal texture. For the economically minded, you can also use slightly stale French bread because it crisps up more.
- Salted butter works best. It adds SOO much flavor. Make sure it’s softened to room temperature so it mixes smoothly with the garlic and cheese.
- Fresh crushed garlic is key. Feel free to substitute minced garlic too; about 1 teaspoon per clove. I’d avoid garlic powder; it just won’t taste as intricate. But if you really don’t have fresh cloves on hand, use ½ teaspoon.
- Don’t use pre-grated parmesan. It often contains fillers and won’t melt very well. Since I looove cheese, I’ll sometimes add a sprinkle of mozzarella or an Italian blend on top.
How to Make It
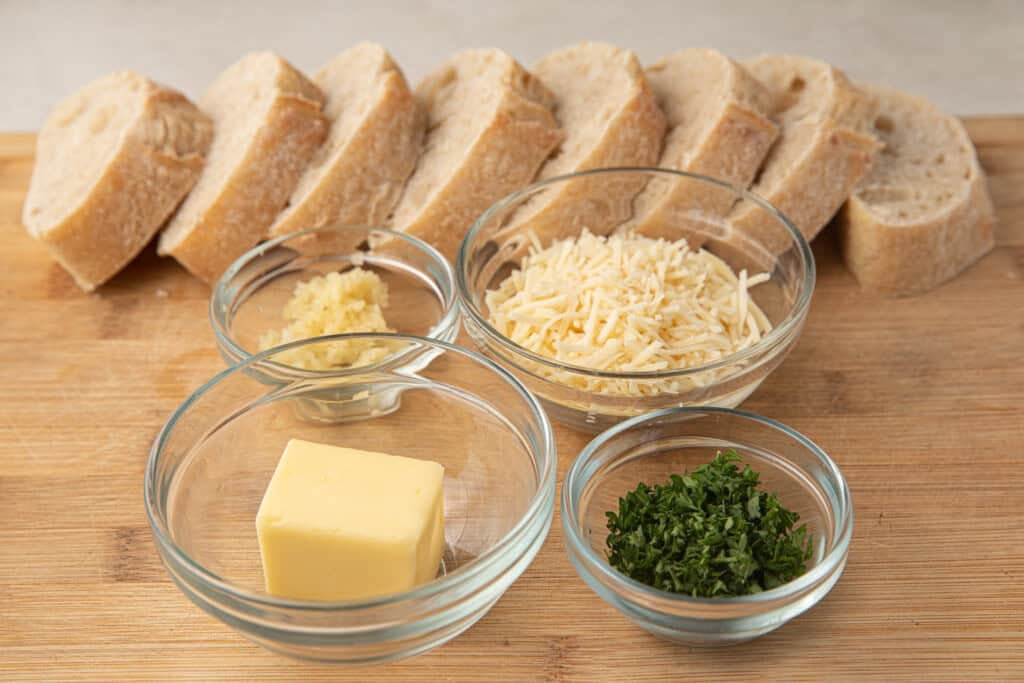
First, mix softened butter, crushed garlic, parmesan cheese, and parsley together in a small bowl until combined.
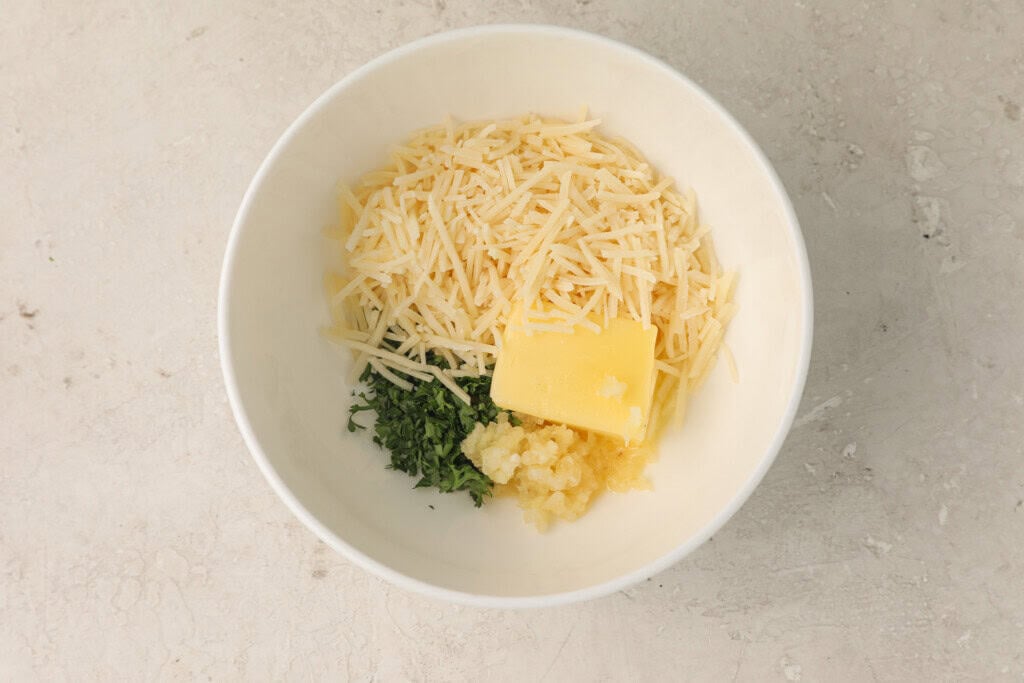
Next, spread the garlic butter mixture generously on slices of French bread.
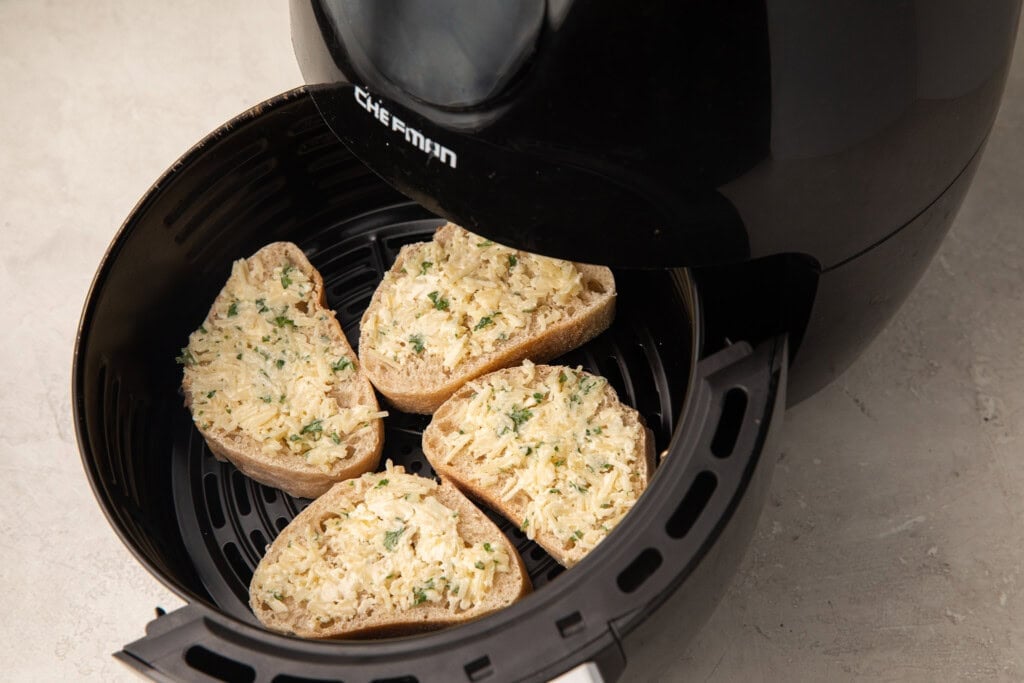
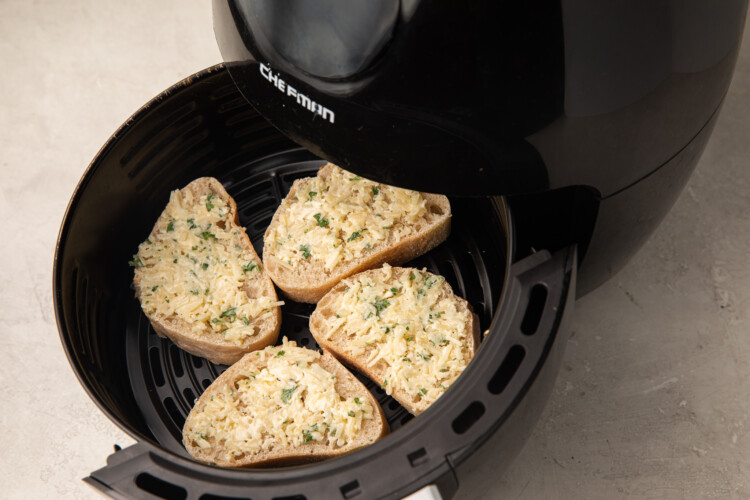
Lastly, place the slices in the air fryer in a single layer (work in batches if needed) and cook at 360°F for 3 to 5 minutes until the tops are golden and crispy. Serve immediately!
Serving Suggestions
- Anything pasta. It’s the BEST with spaghetti and meat sauce, lasagna, baked ziti, or creamy chicken pasta. Scoop up every bit of tomato-ey (or cream) sauce with this epic garlic bread! As for what pasta, try these: ground turkey spaghetti, copycat Olive Garden chicken scampi, Instant Pot chicken and noodles.
- Any soup or stew! I especially love it with tomato soup, but classics like minestrone, vegetable soup, or beef stew are top of the list. For me, the crisp, buttery bread is such a satisfying contrast to a comforting bowl of soup. Check out some of my faves: ratatouille soup, gluten free tomato soup, tomato florentine soup, and gluten free chili.
- Marinara sauce. My kids outright demand this! I cut the garlic bread into strips so it’s extra easy to dip. I’ve even done a tomato-based salsa with this garlic bread, and it’s divine!
- Chicken Caesar salad. An old-school pairing, but it exists for a reason. The creamy dressing and crispy garlic buttery flavor meld SO well together!
Storage & Reheating
- Refrigerator: I’ve kept this on the counter in a resealable bag for 1 day, then in the fridge for up to 3 days.
- Reheat: Toss it in the air fryer at 340°F for 2 to 3 minutes to re-crisp the outside. I wouldn’t reheat this in a microwave, because it just won’t be real garlic bread (more soggy!).
- Making ahead: If you’re planning a dinner party in advance and want one thing off the list, do this: spread the garlic butter mixture on slices of French bread and freeze them in a single layer on a baking sheet. Once frozen solid, transfer to a zippered freezer bag — they’ll keep for up to 6 months. Then I cook straight from frozen in the air fryer at 340°F for 5 to 7 minutes, voilà!
Recipe FAQs
- How long does garlic bread take in the air fryer? 3 to 5 minutes at 360°F. Start checking at 3 minutes — remember that every air fryer runs a little differently, and the butter can go from golden to burnt sooo quickly.
- Do you need to preheat the air fryer for garlic bread? It’s not required, but preheating for 2–3 minutes gives a crispier result and a more consistent cook.
- Can you make garlic bread in the air fryer with regular sliced bread? Yes! Thicker bread, like Texas Toast, works super well. Thinner sandwich bread will crisp faster (check at 2 minutes), and the result will be more like garlic toast.
If you loved this recipe as much as we did, don’t forget to leave us a review below. ★ Follow Easy Healthy Recipes on Pinterest, Facebook, and Instagram, too!
For more delicious recipes, visit our sister sites, 40 Aprons and Easy Cheap Recipes.

Air Fryer Garlic Bread
This simple recipe for air fryer garlic bread produces crispy, buttery garlic bread each and every time! It's tasty as a side for pasta dinners or to dip into marinara for a kid-friendly snack.

servings
Ingredients
- 8 slices fresh French bread
- 4 tablespoons salted butter
- 4 cloves garlic crushed
- ¼ teaspoon fresh parsley
- ⅓ cup freshly grated parmesan

Equipment
- Air Fryer
Instructions
- Place butter in a small bowl. Microwave 10 seconds until soft. Mix in garlic, parsley, and parmesan.

- Spread butter on bread. Arrange 4 slices at a time in air fryer tray.
- Cook at 360°F for 3 minutes. Bread should be golden and crispy. Cook for another 1-2 minutes if necessary.


Nutrition Information
Serving: 1slice | Calories: 255kcal | Protein: 9g | Fat: 8g | Saturated Fat: 5g | Total Carbs: 37g | Fiber: 2g | Sugar: 2g | Net Carbs: 35g | Vitamin C: 1mg | Cholesterol: 19mg | Sodium: 442mg | Potassium: 93mg | Calcium: 79mg | Iron: 2mg
Number of total servings shown is approximate. Actual number of servings will depend on your preferred portion sizes.
Nutritional values shown are general guidelines and reflect information for 1 serving using the ingredients listed, not including any optional ingredients. Actual macros may vary slightly depending on specific brands and types of ingredients used.
To determine the weight of one serving, prepare the recipe as instructed. Weigh the finished recipe, then divide the weight of the finished recipe (not including the weight of the container the food is in) by the desired number of servings. Result will be the weight of one serving.
what non-dairy product would you recommend instead of cheese? 🙂
Nutritional yeast flakes! 🙂