Chocolate Covered Almonds

Posted: 08/04/26
This post may contain affiliate links. Please read our disclosure policy.
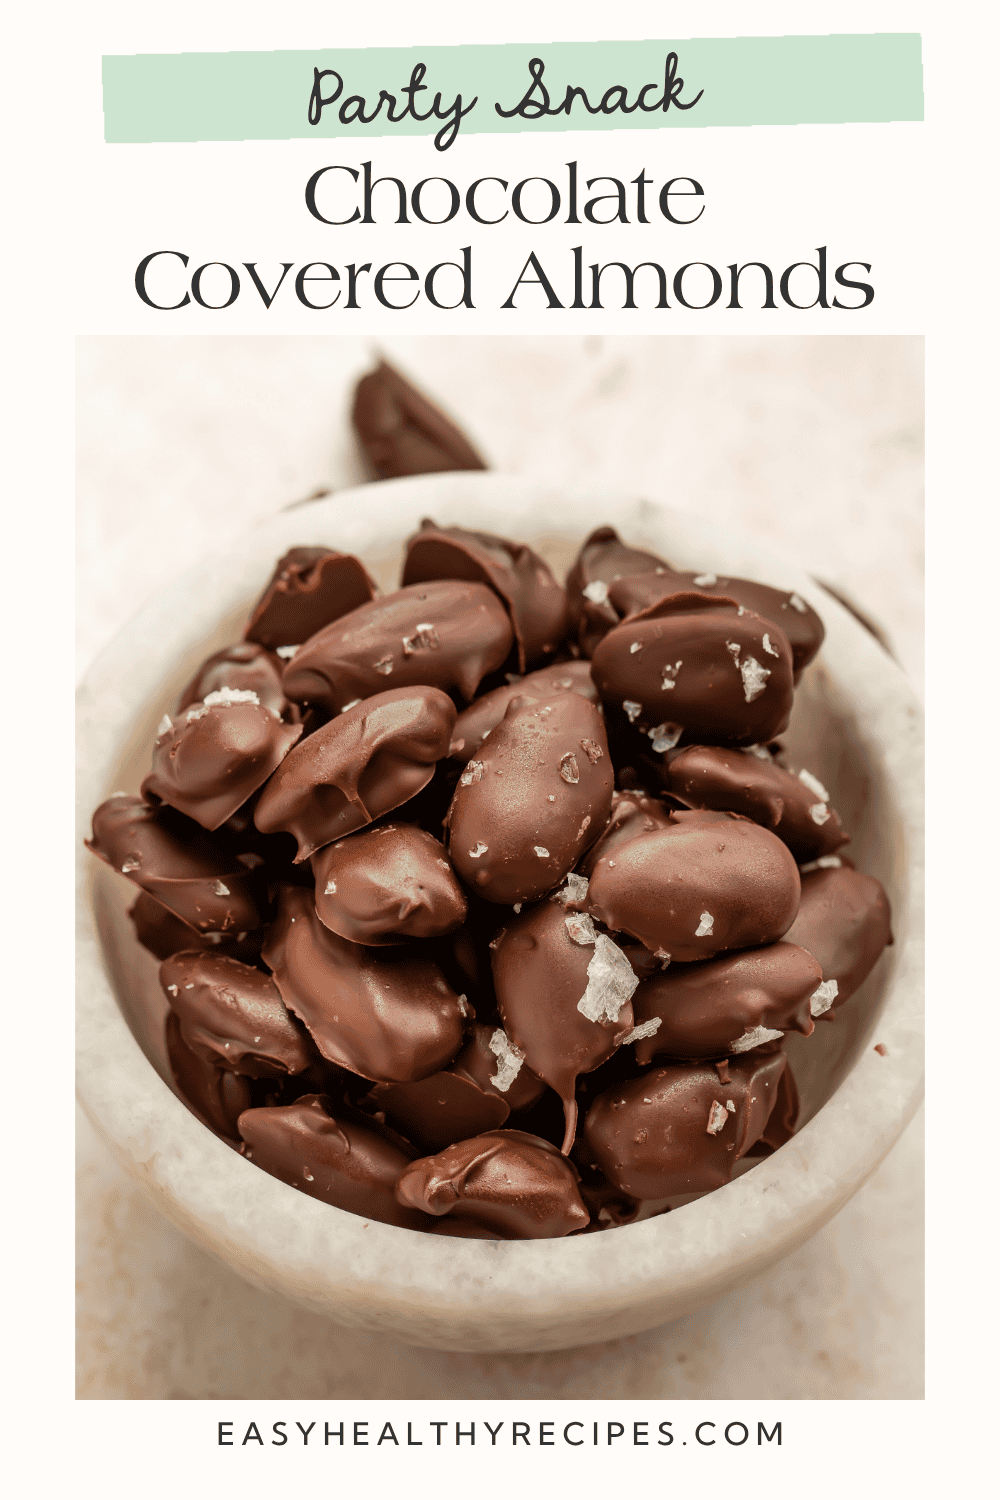
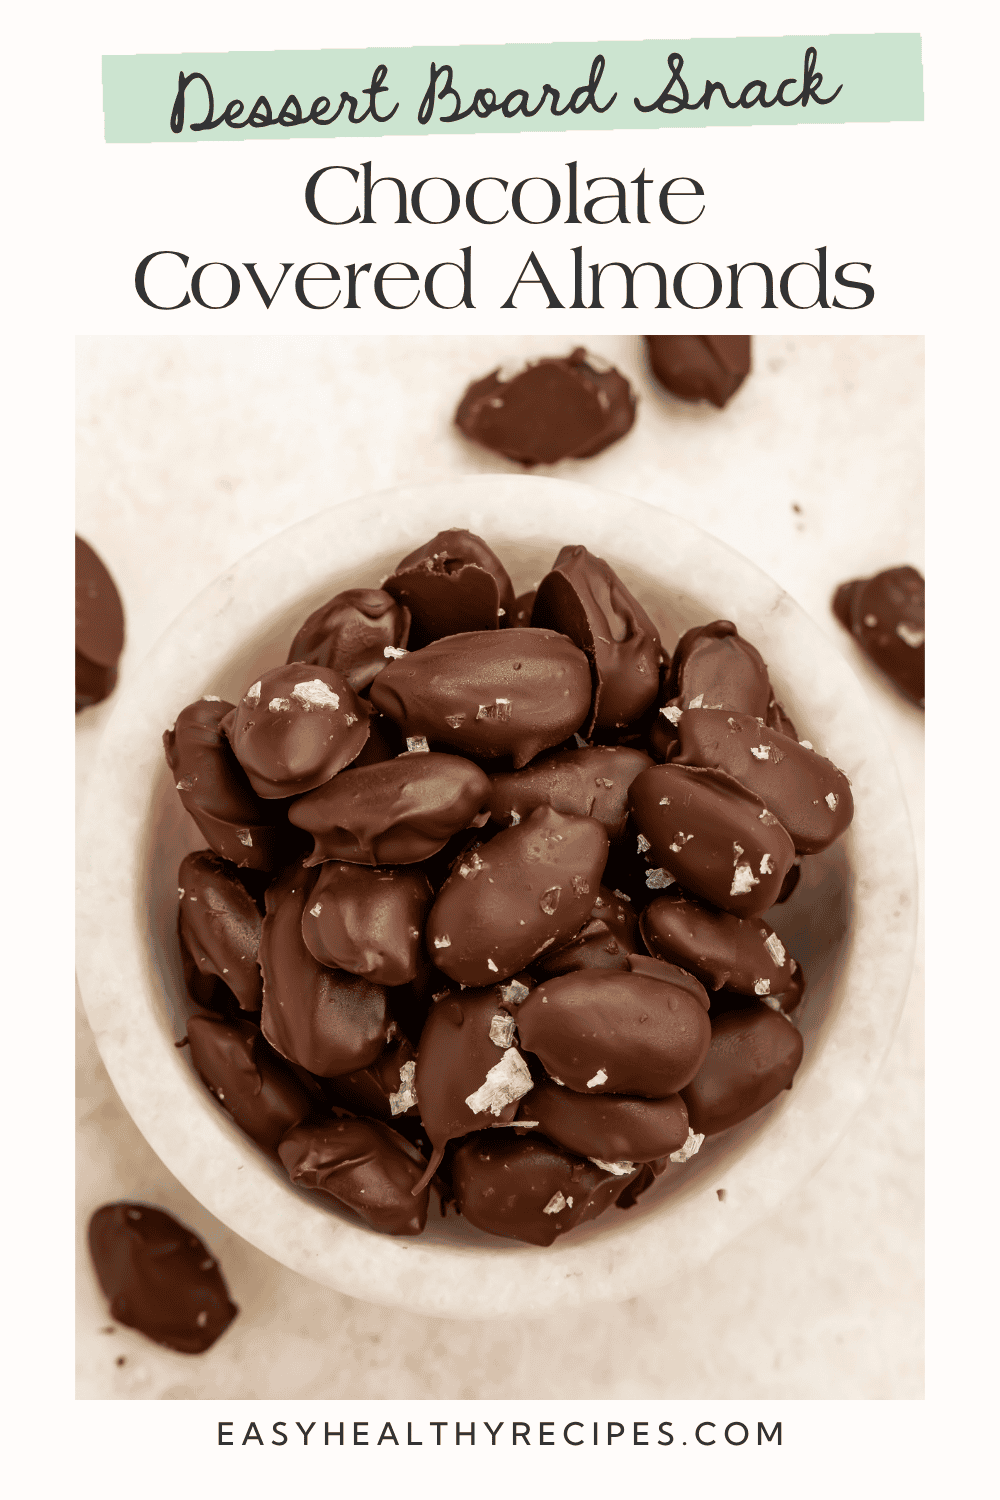
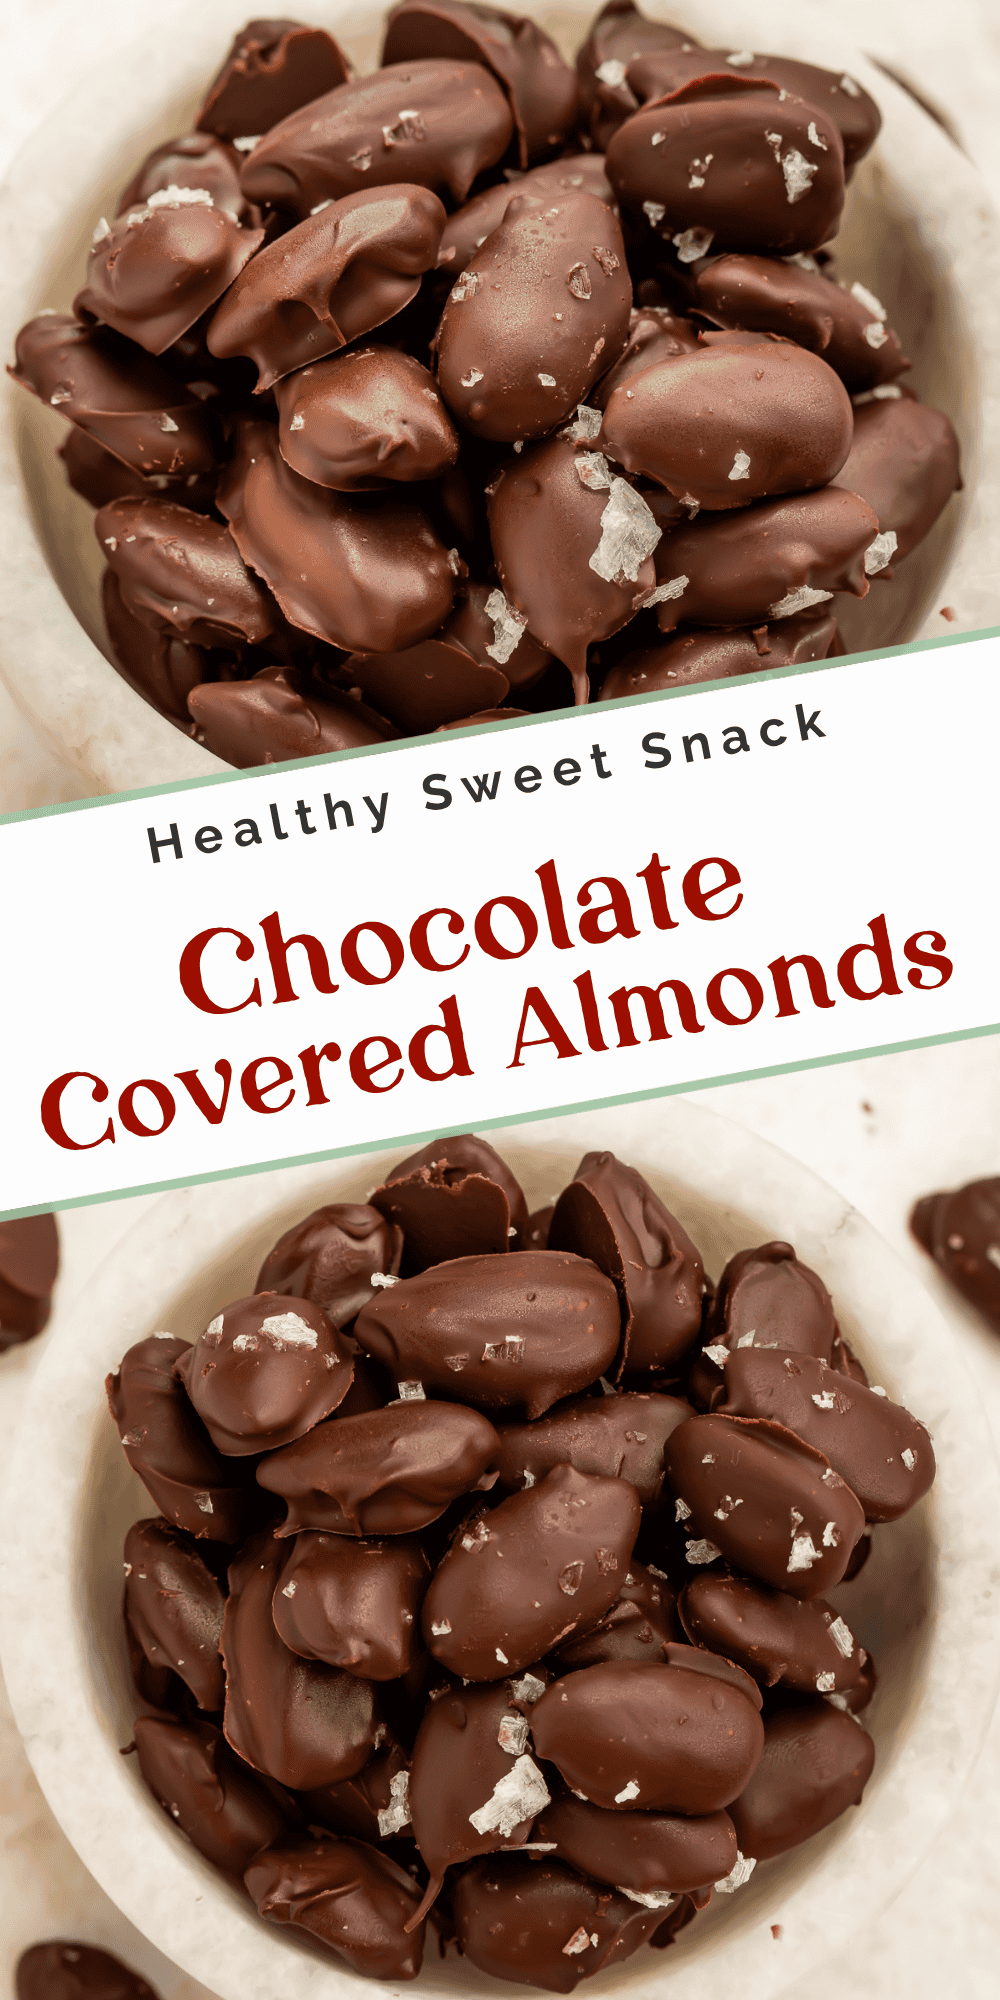
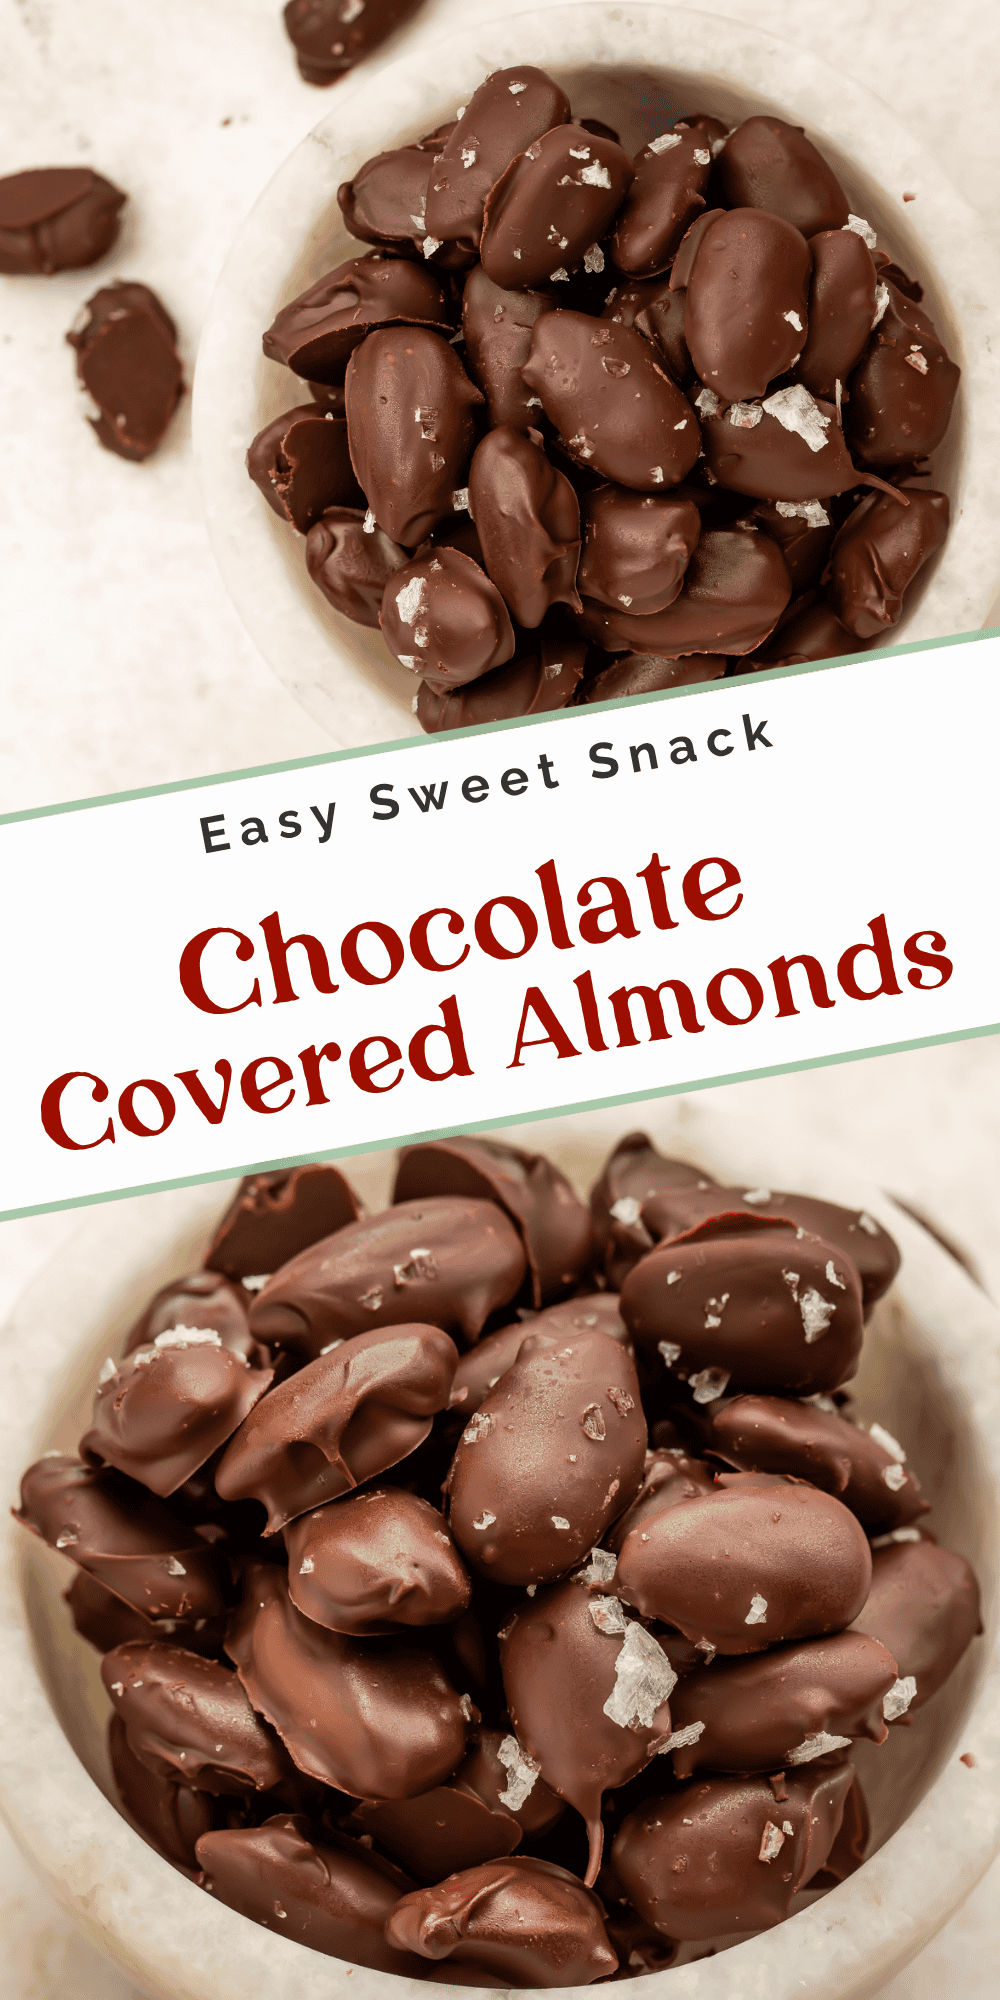
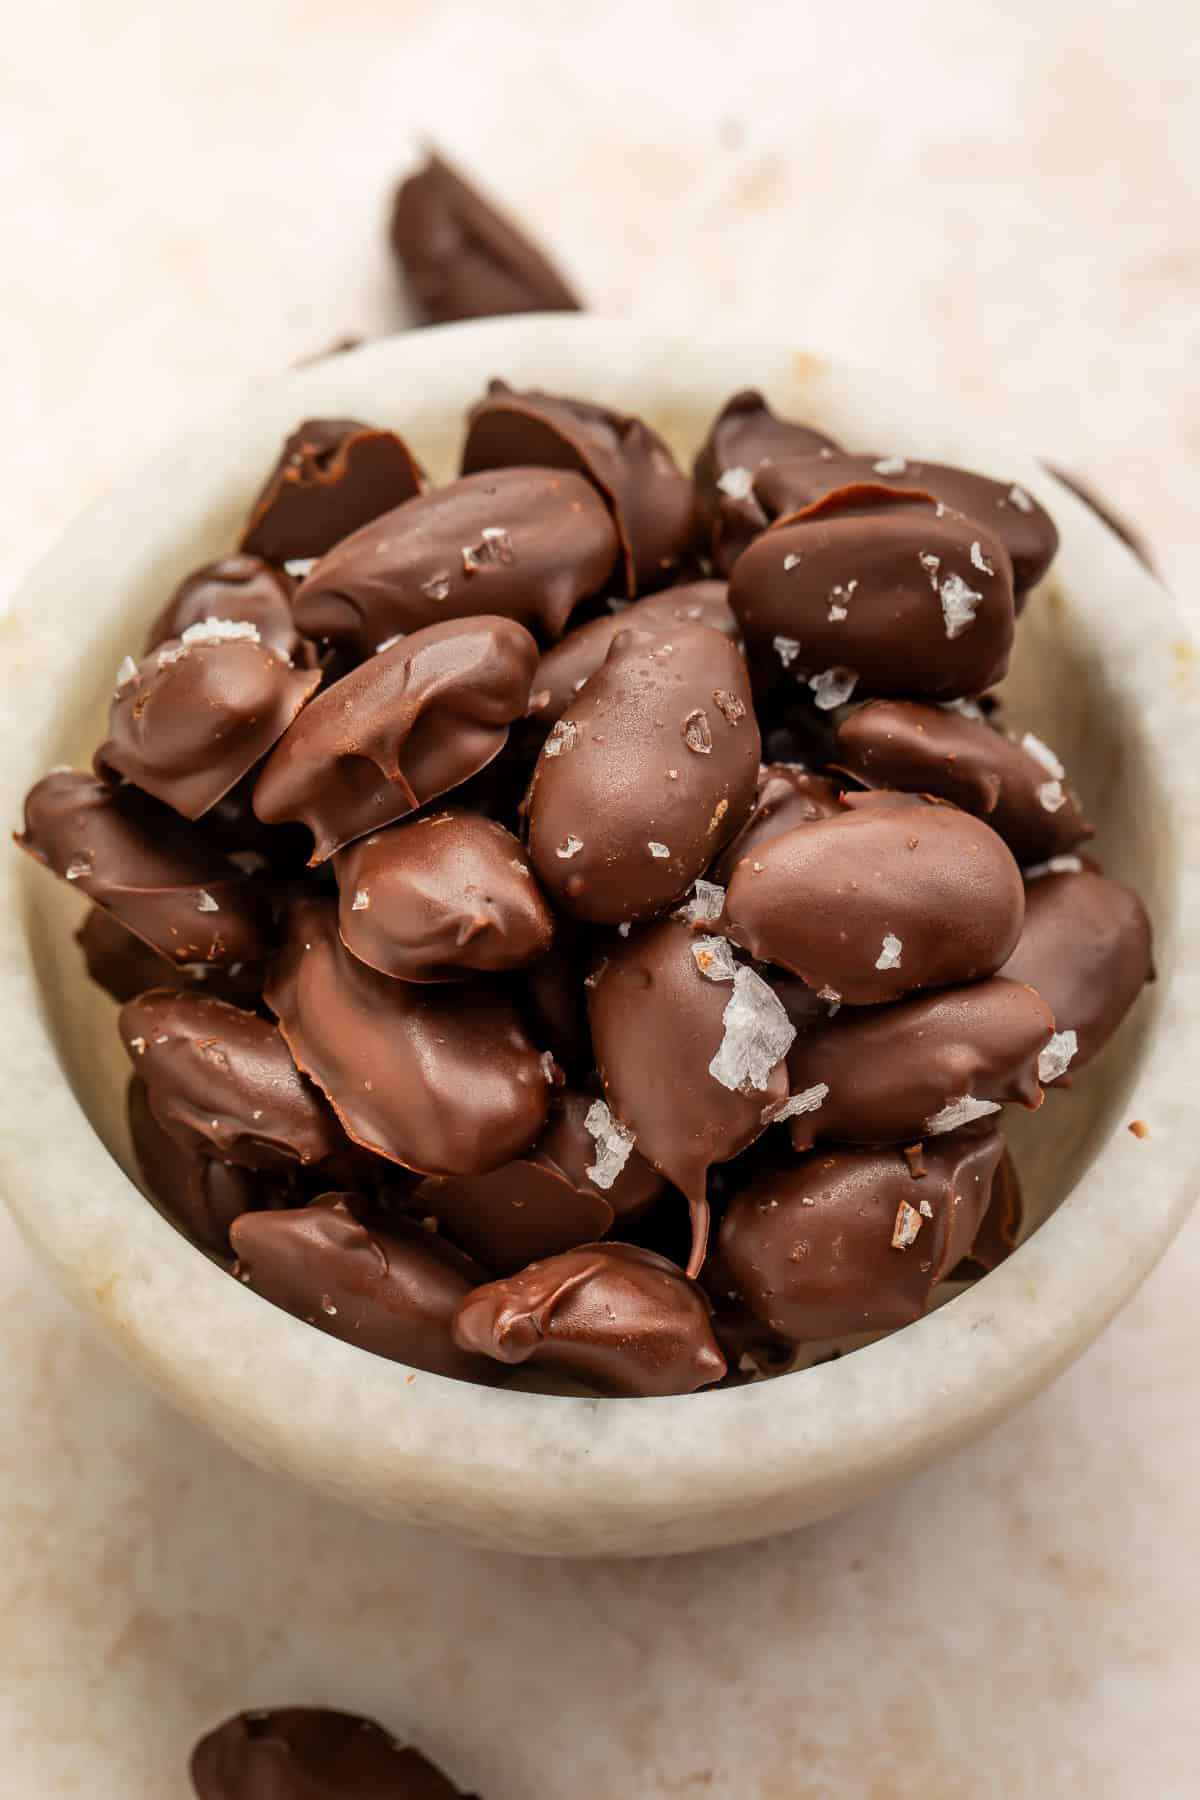
These Chocolate Covered Almonds are easy, crunchy, and perfect when you need a sweet snack for a party dish or at home, craving something sweet-savory. With just a few simple ingredients, these only take 30 minutes and are super easy to make vegan and dairy-free.
What Makes This Recipe Different
- Okay, I like candy like the next girl, but I don’t want to slave for it. This doesn’t require a candy thermometer or complicated chocolate-tempering process, so it’s much easier than traditional candy-making!
- Since this is an easy and healthy recipe, you can skip the oversweetened, full-of-preservatives store-bought chocolate almonds. This homemade version lets you choose dark, semisweet, dairy-free, or lower-sugar chocolate.
- I love how fast this recipe goes; the almonds take about 15 minutes to prepare, and the freezer handles the rest. And this recipe is SO versatile—I like to play, such as keep the almonds separate, arrange them in clusters, or spread the mixture into a thin layer and make chocolate almond bark (kind of my fave).
Cheryl’s Tested Notes Tips
- Make sure no water gets near the chocolate. I make sure the bowl, utensils, and almonds are COMPLETELY dry. I’ve discovered any small amount of water can cause melted chocolate to seize and turn thick or grainy, rather than silky.
- Take the chocolate off heat before it looks completely melted. I stir thoroughly after each interval, and allow the remaining pieces to melt from the residual heat, which means I won’t scorch the chocolate.
- Here’s my almond hack. Lift each almond with a fork and gently scrape the bottom against the edge of the bowl. I like to try and create an even coating and prevent large chocolate puddles from forming around the almonds.
- I add toppings while the chocolate is wet. Sprinkle on the sea salt and chili powder as soon as the almonds reach the parchment, because the coating will set quicker than you think!
Ingredient Notes
- Use whole natural almonds. I find they provide plenty of crunch and a slightly toasty, nutty flavor. Roasted unsalted almonds can also be used for an even deeper flavor; but friend, avoid heavily salted almonds, it just throws off the flavor.
- I really prefer dark chocolate melting wafers. They create the smoothest coating and firm up reliably. If you don’t want sweetened chocoloate, use unsweetened dark chocolate and control the amount of sugar you add. For a vegan or dairy-free version, ensure the chocolate is made without milk.
- Don’t skip the sea salt! Salt balances the chocolate’s sweetness and makes it taste richer. I recommend using flaky sea salt because the larger crystals add a little delightful crunch.
- Just a nudge to keep in the chili powder. It really makes the recipe for me, becaus it adds gentle, warm finish rather than making it insanely spicy. I also mix it up and substitute cinnamon, a teeny pinch of cayenne, or finely crushed peppermint, in case you’re looking for variety.


How To Make Them
- Line a baking or cookie sheet with parchment paper and set to the side.
- Break your dark chocolate into small pieces and add to a bowl that’s safe for heating.
- Fill a pot with water and set the bowl of chocolate inside. (You want to make sure that the bottom of the bowl doesn’t touch the water, but that the sides are covered.) Place the pot on the stove and bring to a low simmer.
- Stir the chocolate constantly until it’s almost completely melted. Remove the pot from the heat source and stir the chocolate until it’s smooth.
- Pour the almonds into the bowl of melted chocolate and stir, making sure the almonds are completely coated.
- With a fork, remove the almonds one by one, wiping any excess chocolate on the side of the bowl. Place them onto the lined baking sheet and sprinkle with sea salt and chili powder.
- Place the baking sheet in the freezer for about 30 minutes to allow the chocolate to harden.
Serving Suggestions
- With tea or coffee. I just love sitting with a hot mug of coffee or tea, and chomping on these crunchy almonds in rich dark chocolate.
- Add them to a dessert board. This is so good for gatherings or hosted dinners. I pair the almonds with strawberries, raspberries, dried fruit, and cheese, and guests looove the whole spread.
- Greek yogurt, oatmeal, or ice cream. A weird trio to mention, but these almonds seriously taste amazing for breakfast or dessert. Just balance out with fruits in the oatmeal and yogurt, and no need to put more than a small handful on top of ice cream (go for vanilla!).
Storage & Make Ahead
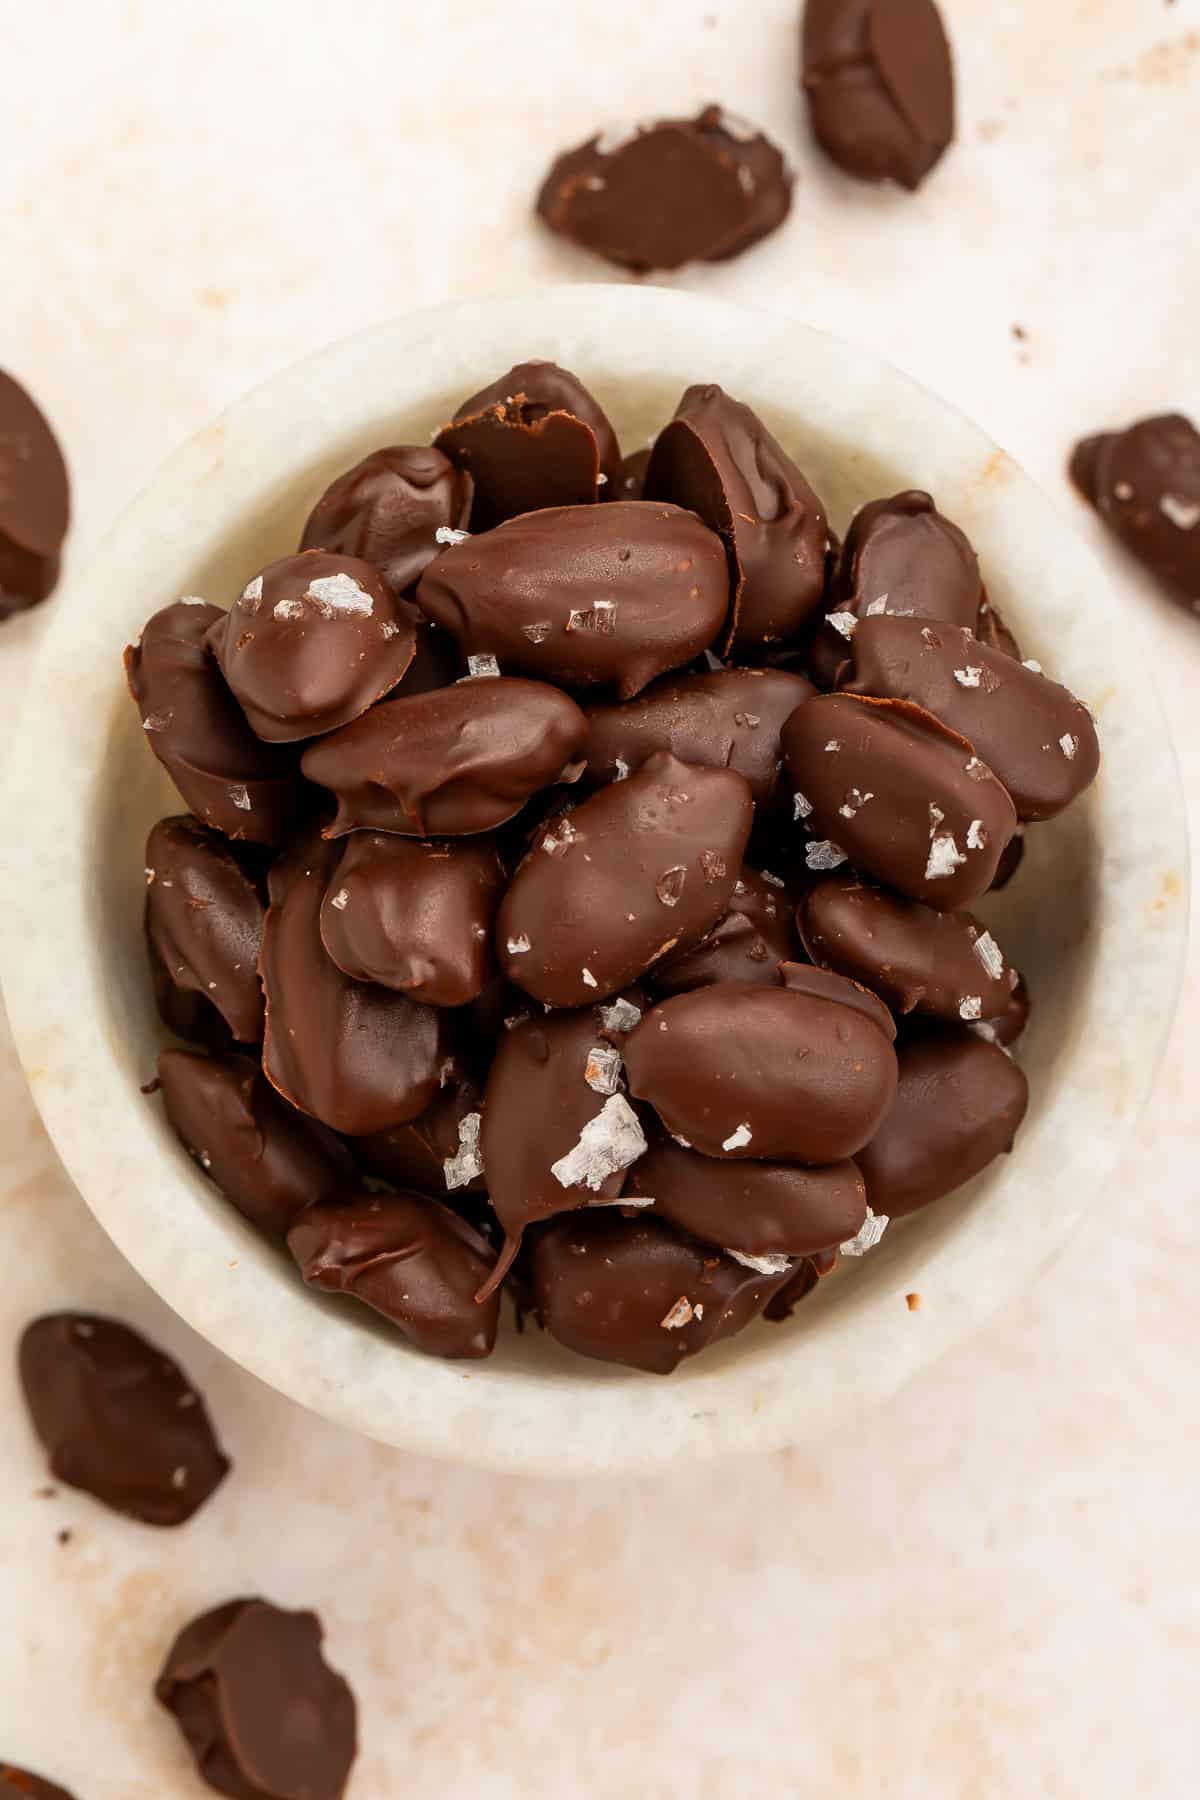
- Room temperature: I always keep them in a cool, dry place for up to 1 week. Don’t expose them to sunlight, heat, and humidity or the coating won’t stay firm.
- Fridge: I personally like a firmer coating, so I’ll refrigerate the almonds and take them up out to warm a bit before eating or serving. They’ll stay in the fridge for up to 2 weeks.
- Freezer: These chocolate almonds can stay in the freezer up to 2 months, and I use parchment paper to separate them in layers. For thawing, I don’t remove them but let them thaw inside the closed container to reduce condensation on the chocolate.
- Make-ahead: OMG, these are perfect for making ahead for a party or the week ahead. Prepare them, let the coating set completely, and keep them stored in the fridge until needed.
Recipe FAQs
- Can I make chocolate-covered almonds with chocolate chips? I wouldn’t recommend this per se, but if you want to give it a go; use semisweet or dark chocolate chips. Just note that they may melt more thickly and produce a slightly softer coating, so I’d keep the refridgerated mostly.
- Why did my melted chocolate become thick or grainy? Two possible reasons, chocolate can seize when it comes into contact with water or when it’s overheated. Always, always use a completely dry bowl and utensils, and heat the chocolate slowly while stirring well between intervals.
- Are chocolate-covered almonds a healthy snack? Naturally, I want to support your chocolate almond addiction, but it really depends on the chocolate you choose and how many you eat. My recipe allows you to use dark or lower-sugar chocolate and control the salt, but they’re still a calorie-dense sweet snack. I say enjoy them in a reasonable portion rather than treating them like plain almonds!
If you loved this recipe as much as we did, don’t forget to leave us a review below. ★ Follow Easy Healthy Recipes on Pinterest, Facebook, and Instagram, too!
For more delicious recipes, visit our sister sites, 40 Aprons and Easy Cheap Recipes.
Chocolate Covered Almonds
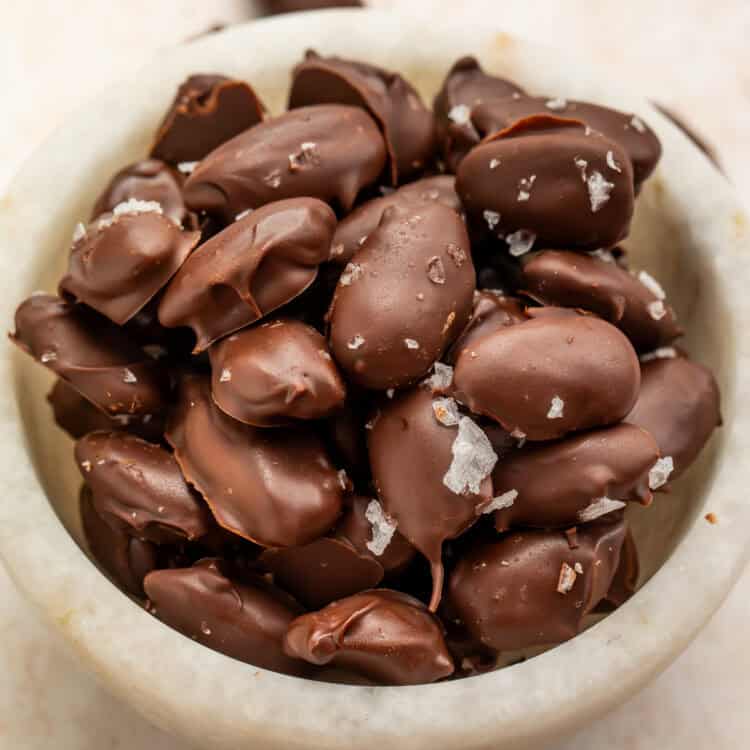
These perfectly sweet chocolate covered almonds are so easy and incredibly delicious.

servings
Ingredients
- 1 ½ cups whole natural almonds
- 10 ounces dark chocolate melting wafers like Ghiradelli, or semisweet/dark chocolate chips
- sea salt
- chili powder optional

Instructions
- Line a baking or cookie sheet with parchment paper and set to the side. Pour chocolate melting wafers into microwave-safe bowl and microwave 60 seconds. Stir well. Continue microwaving in 30-second bursts then stirring very well. When you see that the chocolate is fully melted during stirring, move on to the next step.Double boiler method: Alternatively, simmer an inch or two of water in a saucepan and place a heat-proof bowl over the water, making sure the bottom does not touch the water. Add chocolate to the bowl and let it melt, stirring frequently, until smooth.
- Add almonds to melted chocolate and stir to coat evenly.
- With a fork, remove the almonds one by one, wiping any excess chocolate on the side of the bowl. Place them onto the lined baking sheet and sprinkle with sea salt and chili powder. Place the baking sheet in the freezer for about 30 minutes to allow the chocolate to harden.
Notes
Vegan or dairy free: Use chocolate without dairy.
Less/no added sugar: Use unsweetened chocolate and add a small amount of granulated sugar or sugar substitute to the bowl when melting.
Melt chocolate in double boiler: Simmer an inch or two of water in a saucepan and place a heat-proof bowl over the water, making sure the bottom does not touch the water. Add chocolate to bowl and let melt, stirring frequently.
Make into chocolate almond brittle or clusters: Instead of spreading out each individual almond on your baking sheet, clump them together in small piles or pour all the chocolate and almonds into a thin sheet, then freeze.
Flavor variations: Omit chili powder and use cinnamon or crushed peppermint pieces.
Nutrition Information
Calories: 1380kcal | Protein: 33g | Fat: 107g | Saturated Fat: 35g | Total Carbs: 82g | Fiber: 27g | Sugar: 35g | Net Carbs: 55g | Cholesterol: 4mg | Sodium: 27mg | Potassium: 1668mg | Calcium: 376mg | Iron: 19mg
Number of total servings shown is approximate. Actual number of servings will depend on your preferred portion sizes.
Nutritional values shown are general guidelines and reflect information for 1 serving using the ingredients listed, not including any optional ingredients. Actual macros may vary slightly depending on specific brands and types of ingredients used.
To determine the weight of one serving, prepare the recipe as instructed. Weigh the finished recipe, then divide the weight of the finished recipe (not including the weight of the container the food is in) by the desired number of servings. Result will be the weight of one serving.
Leave a Comment