Gluten Free Mug Cake

Posted: 09/11/26
This post may contain affiliate links. Please read our disclosure policy.

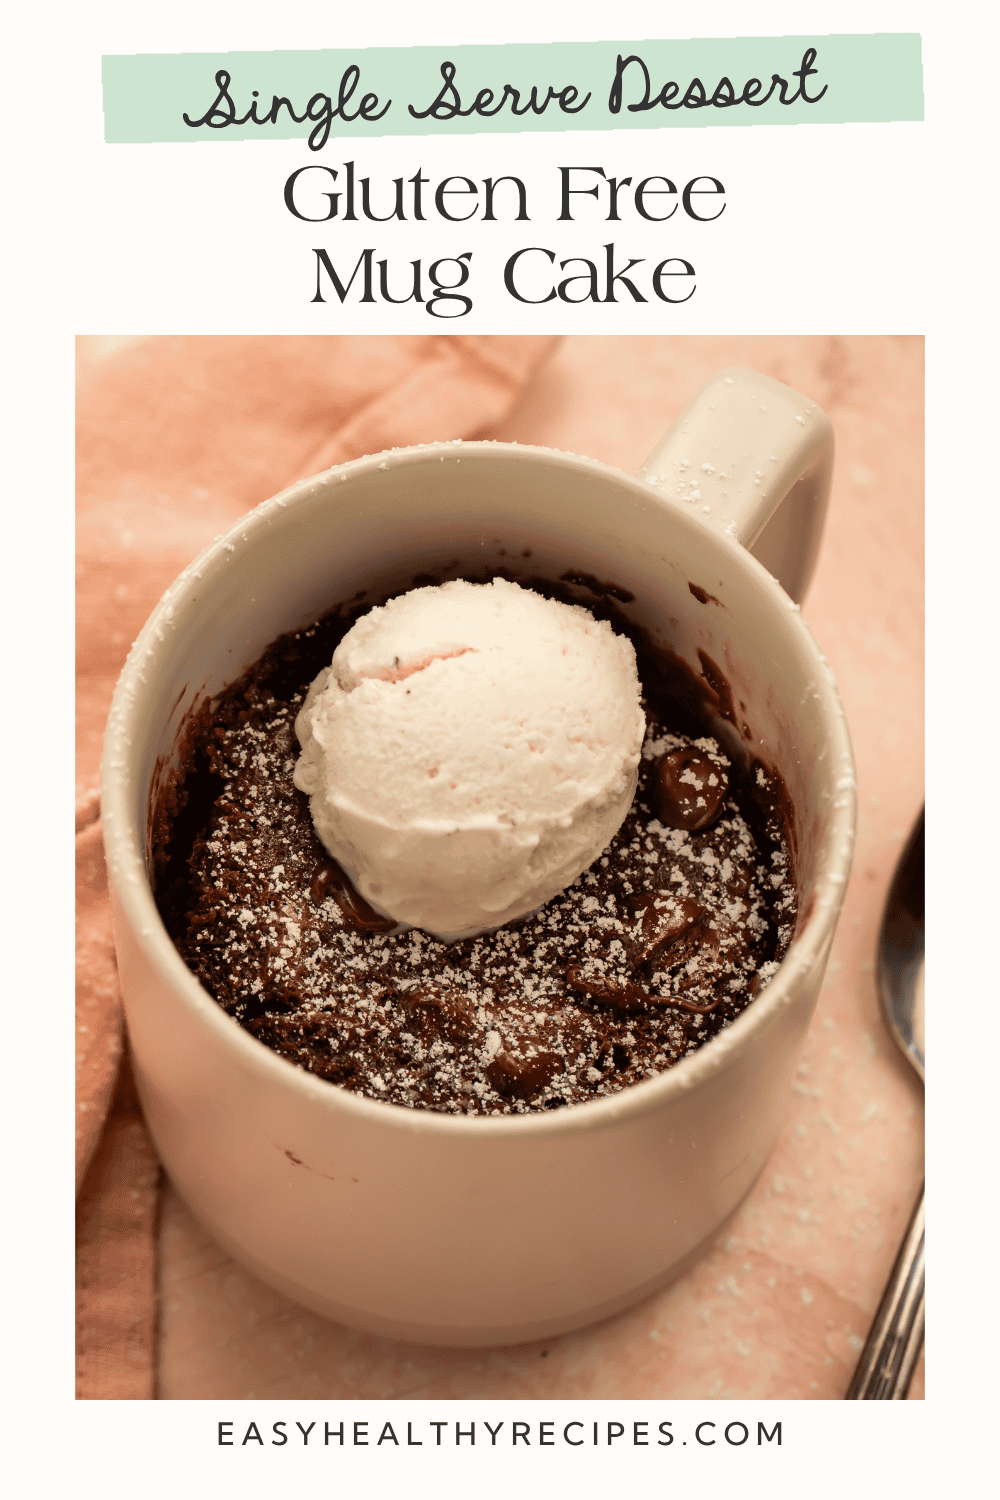

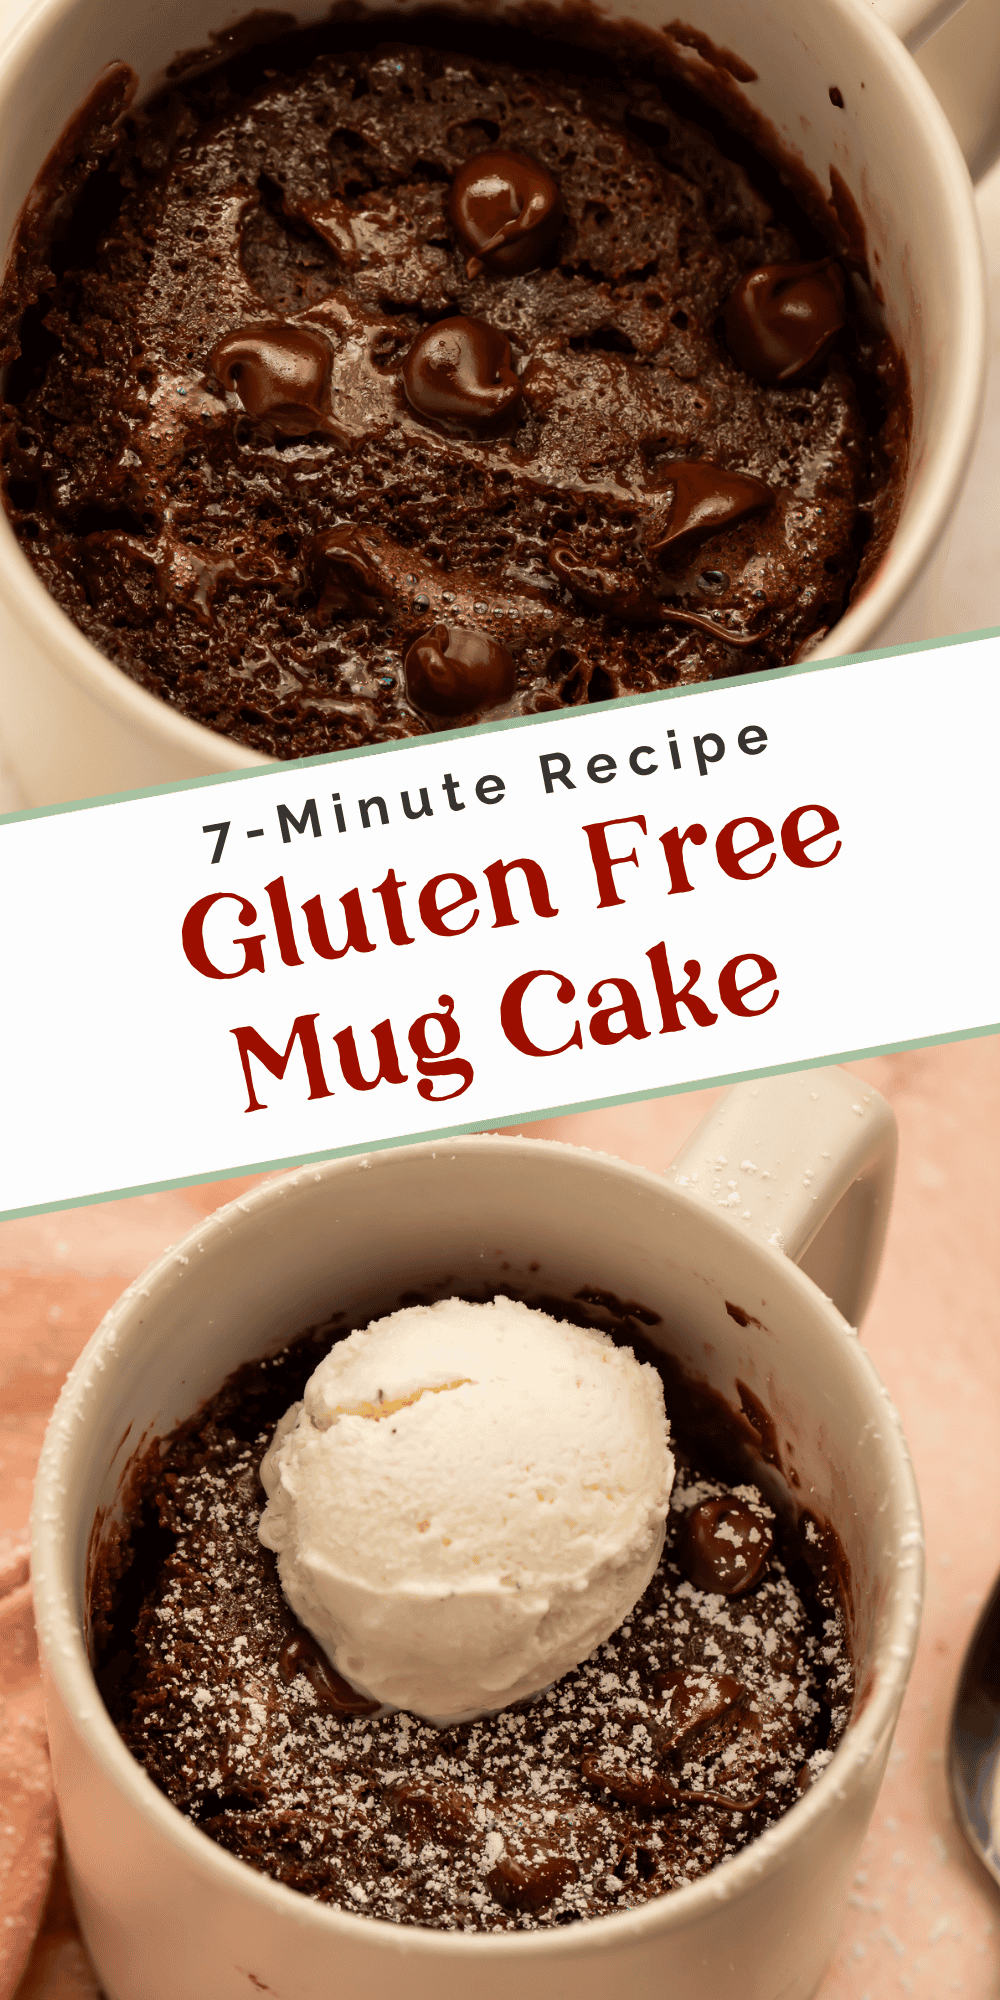
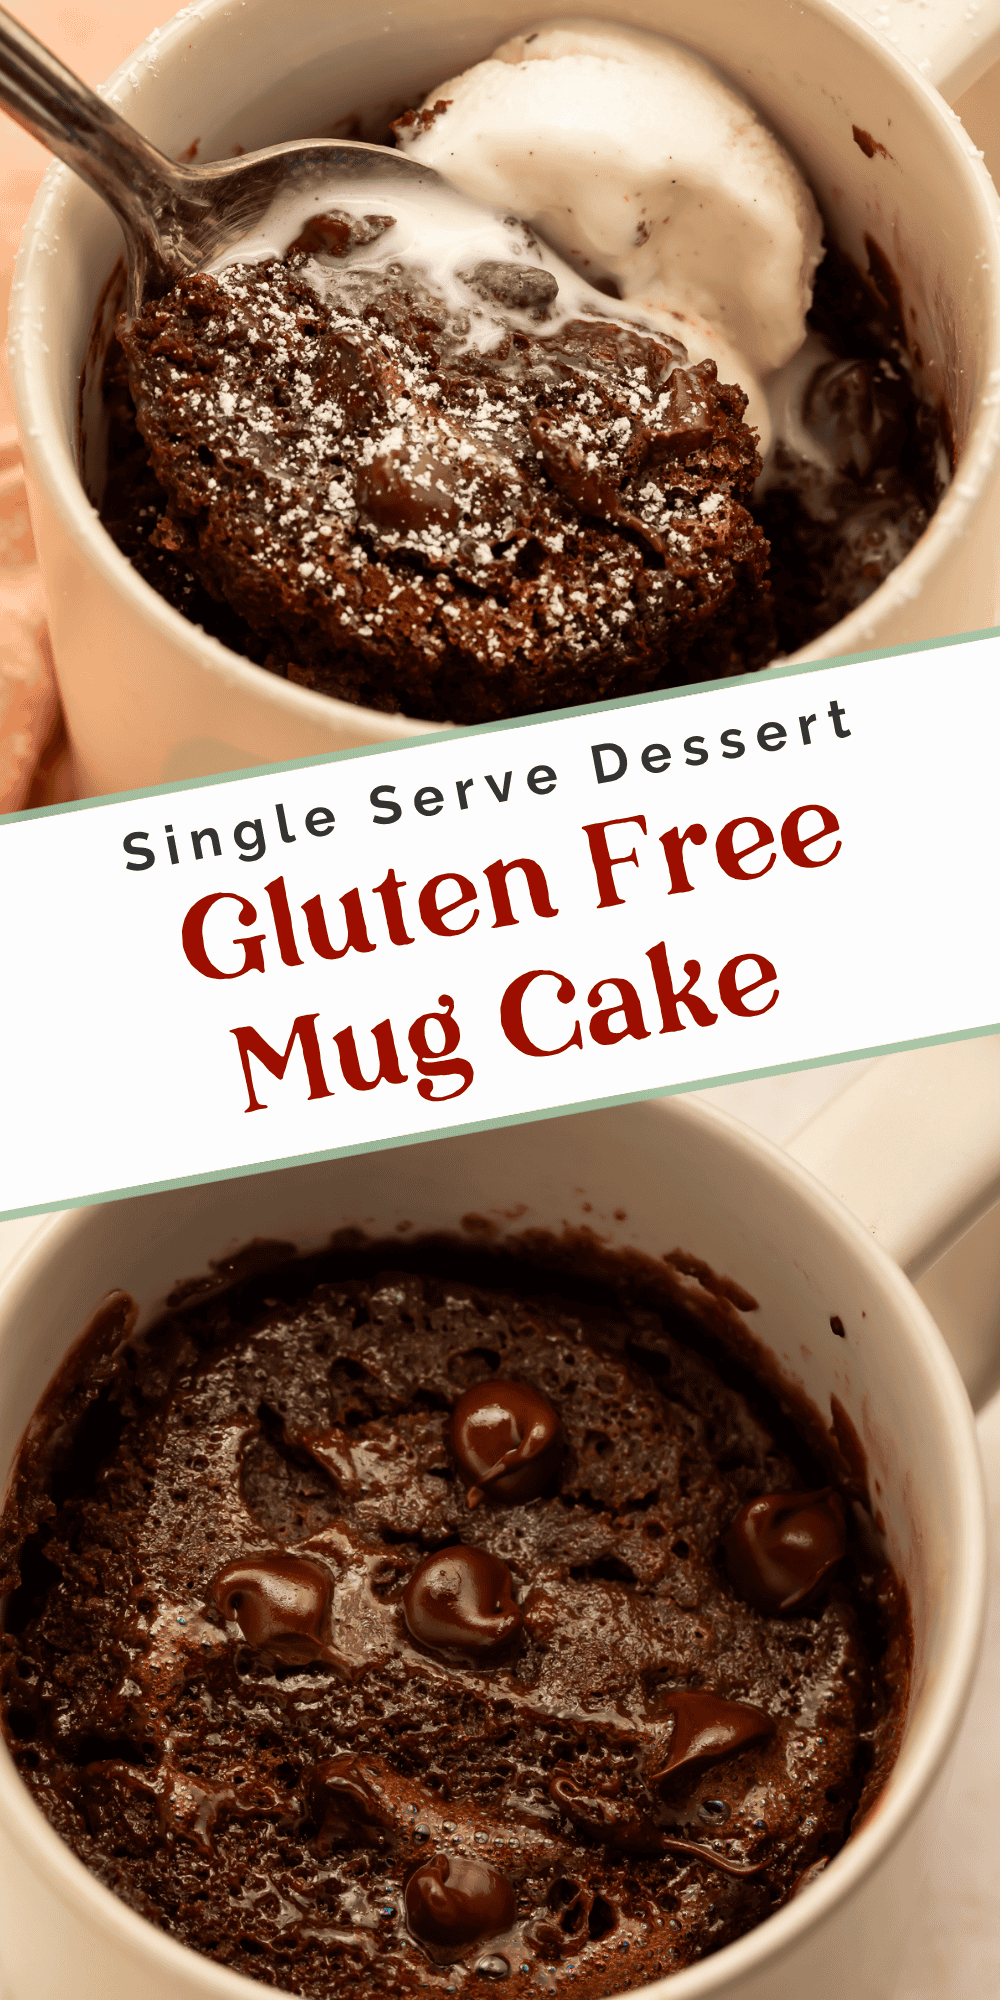
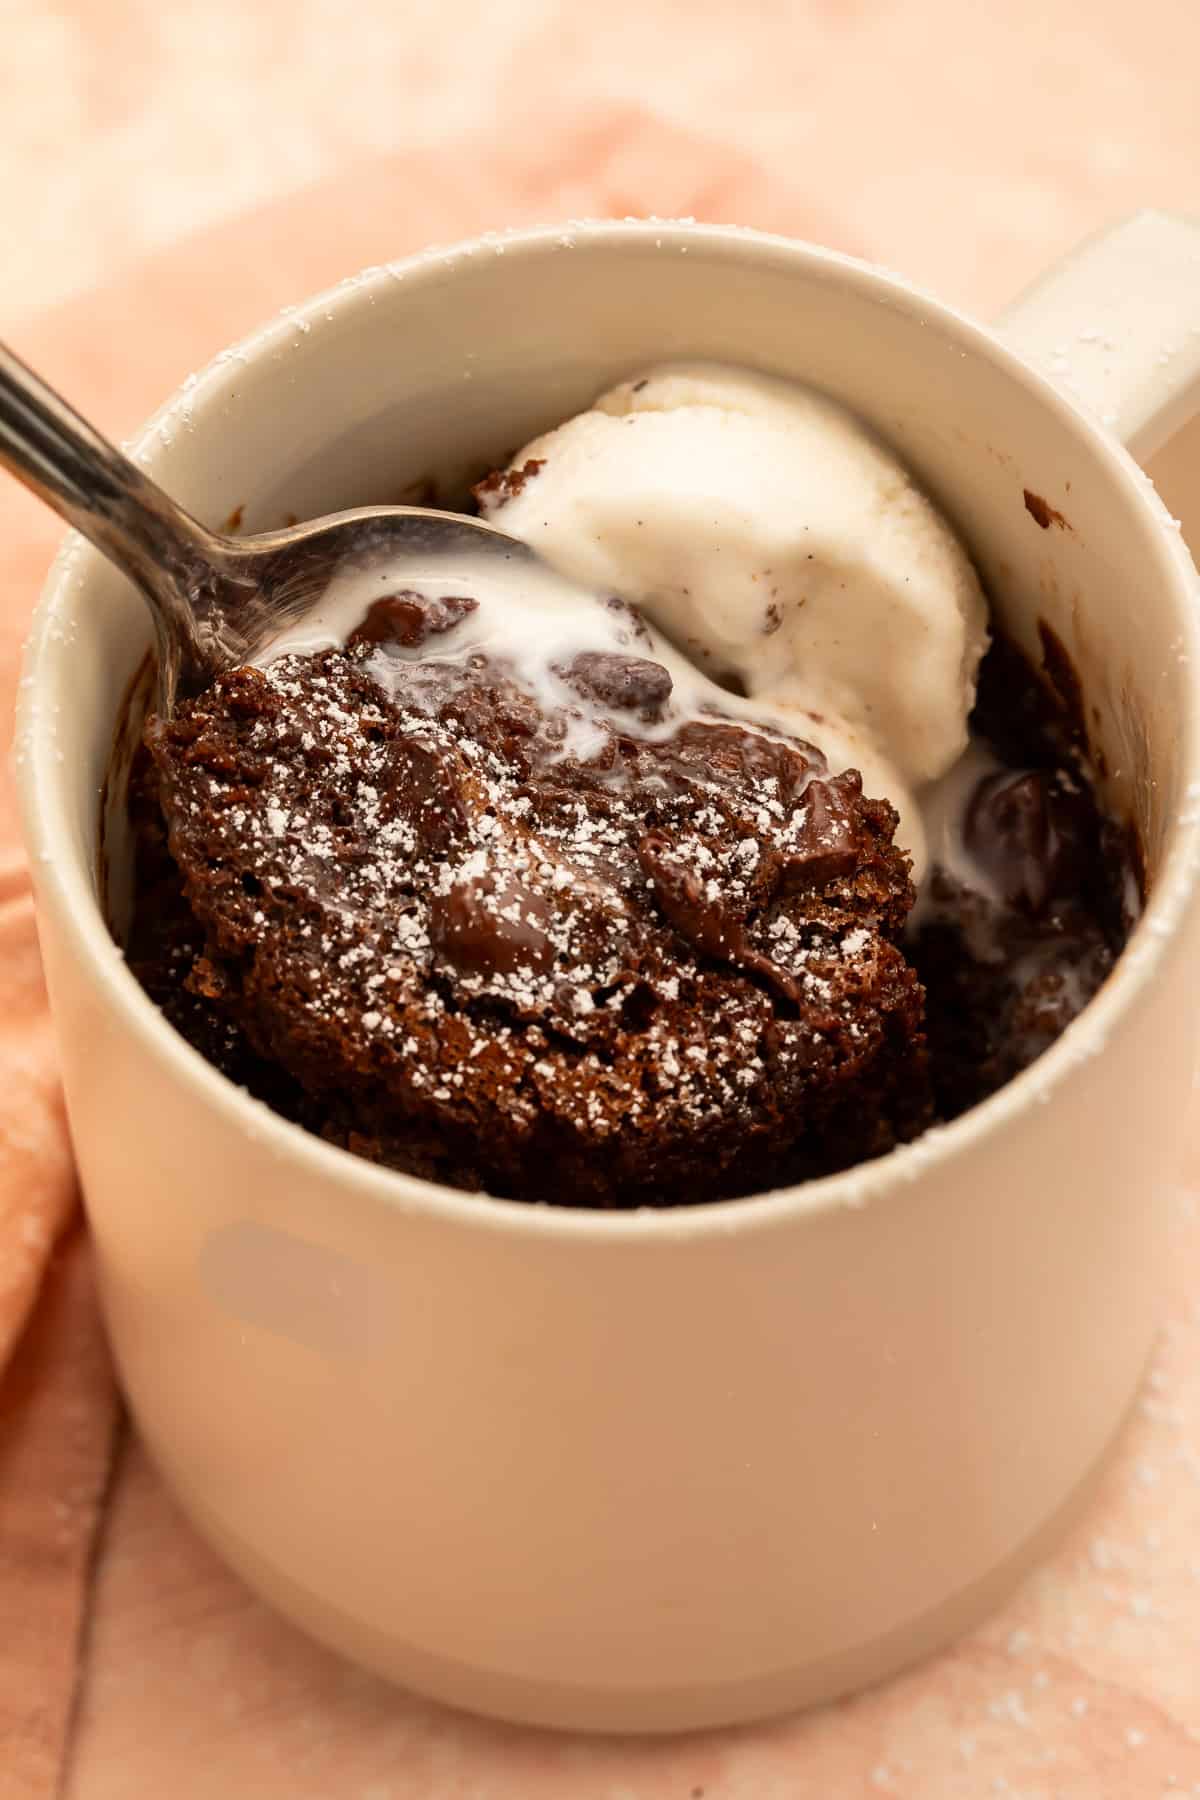
This Gluten Free Mug Cake is simple to throw together when you’re craving something sweet. It takes a few basic ingredients and turns them into delicious, melt-in-your-mouth, moist, single-serving chocolate cake that’s ready to eat in just a few minutes. Gluten-free and super easy to make dairy-free!
What Makes This Mug Cake Recipe Different
- Remember Easy Bake Ovens? This is kind of like a grown-up version of that… only way better. In less than 5 minutes, you’ll go from ingredients to gluten-free chocolate cake, with minimal effort.
- The single-serve portion size is so convenient for anyone living alone or wanting healthier eating habits. You won’t be tempted to eat 2 or 3 cupcakes or a slice of cake as big as your head since you’re only making one mini-cake at a time.
- This is SO fudgy, and I’m here for it. Using an egg yolk gives the cake richness and structure without that icky rubbery texture that can happen when using a microwave.
Cheryl’s Tested Notes & Tips
- The cake will rise and expand as it “bakes” in the microwave. If your mug is on the small side, put a paper towel or a dish underneath it in the microwave to catch any overflow. Or use a mug that holds at least 10-12 ounces.
- I measure the flour carefully! Spoon it into the tablespoon and level it off. Packing in too much flour can make a tiny cake surprisingly dry—we don’t want that! Also, stop mixing once the flour disappears, as overmixing can create a gummy texture.
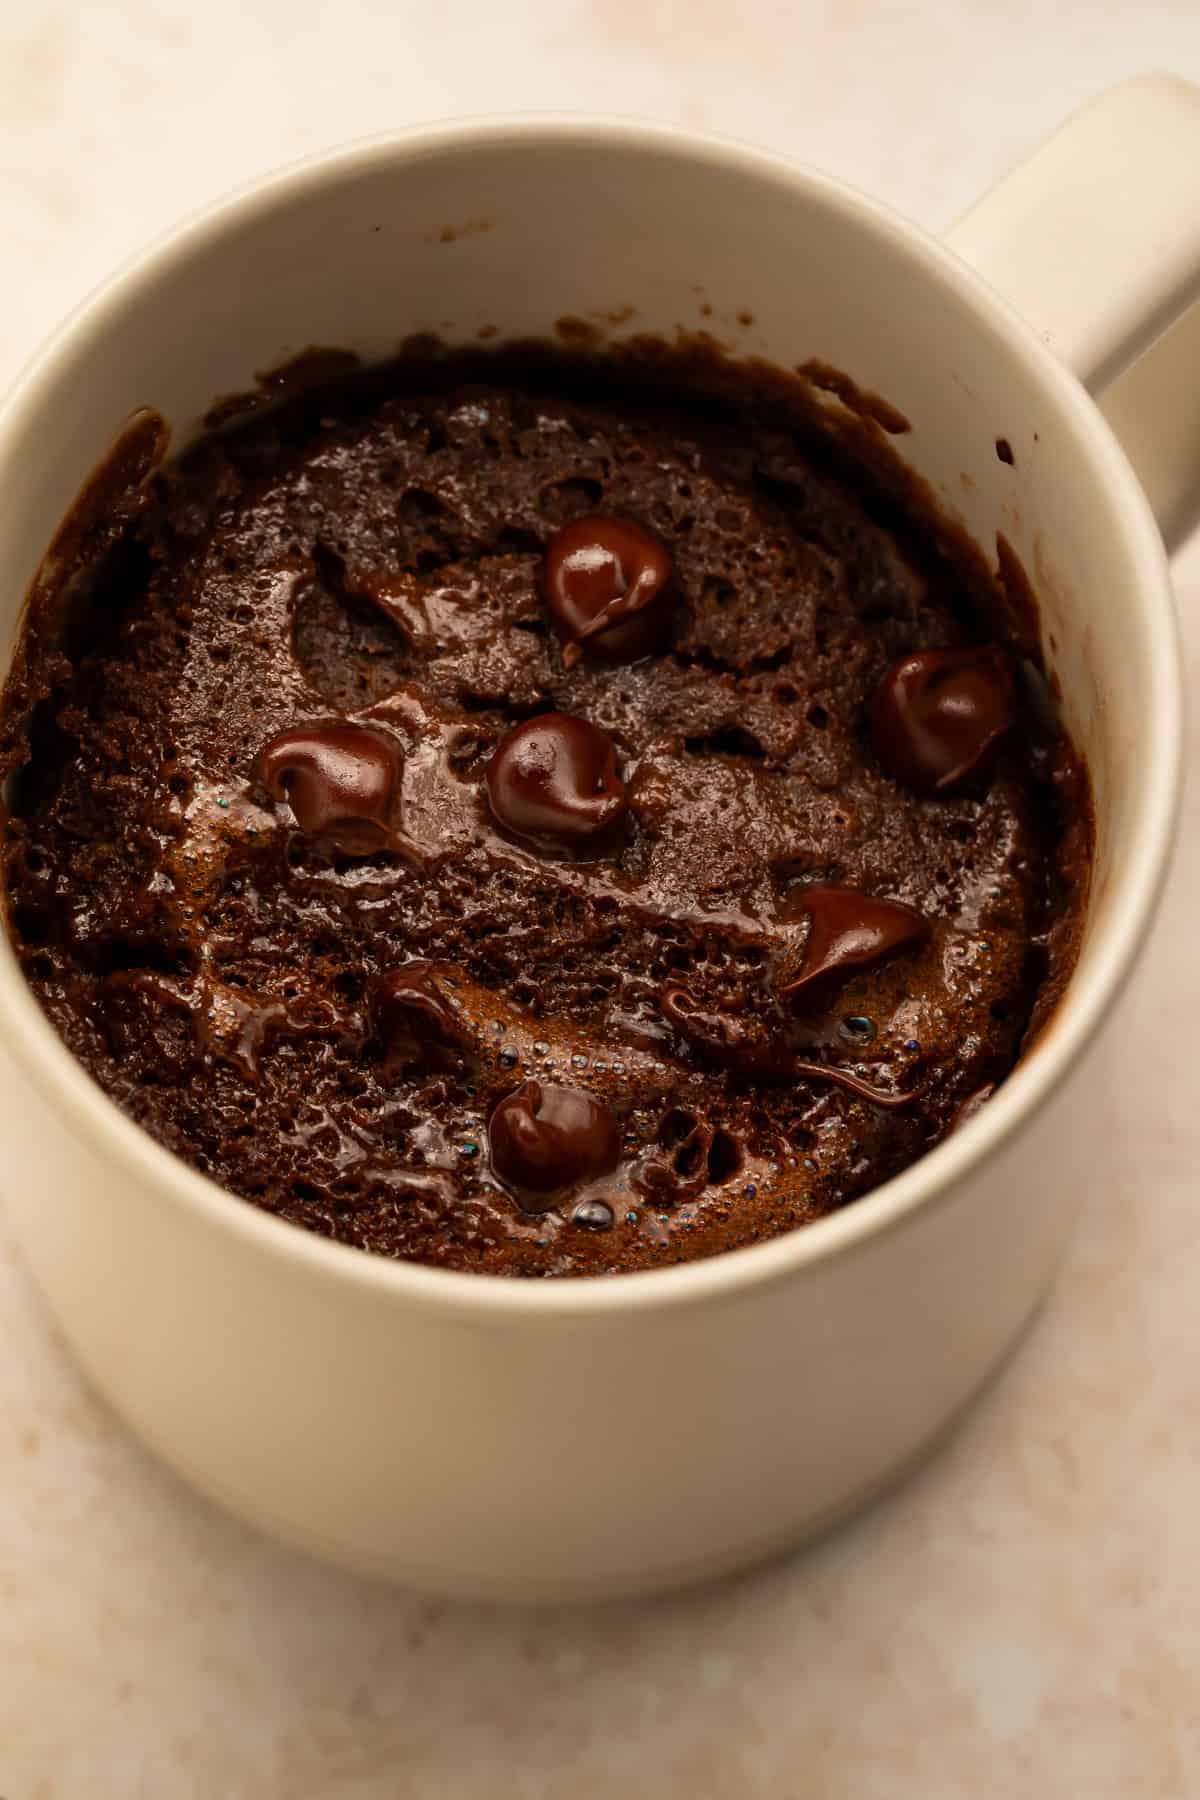
- Watch the cooking process carefully. Every microwave is different, so I cook in short bursts and stop when the top is just set, but the center still looks a little glossy. It’ll totally continue cooking as it rests.
Other Good Tips
- You can make this mug cake in the oven if you prefer not to use a microwave. Be sure to use an oven-safe mug! Place the mug on a baking sheet, then bake your cake for 15-20 minutes at 350° Fahrenheit.
- This recipe makes one single-serve mug cake. For larger quantities of gluten-free chocolate cake, try this recipe for the Best Chocolate Paleo Cupcakes Ever (Gluten Free).
Ingredient Notes
- Use a 1:1 or measure-for-measure baking blend. Try to buy one that contains xanthan gum. If your blend doesn’t include it, I add a scant ⅛ teaspoon so the cake holds together without crumbling.
- Dutch-process cocoa powder is a rich chocolate flavor. Natural cocoa powder will also work, but I’m not a fan because the taste is too light. Dutch cocoa all the way!
- Don’t use a whole egg. Using only the yolk adds richness and helps the cake set without giving it the rubbery texture (that happens with microwave cooking).
- Oil is essential. It keeps the cake tender and moist, even after it begins to cool. Use any kind of neutral oil, like vegetable, avocado, or canola.
Serving Suggestions
- Fresh raspberries or sliced strawberries. So yummy; get in some healthy fruit, which offsets the rich chocolate beautifully.
- Greek yogurt. I add a generous dollop, or lightly whipped cream is a lovely combo, while Greek yogurt would add a thicker, creamier texture.
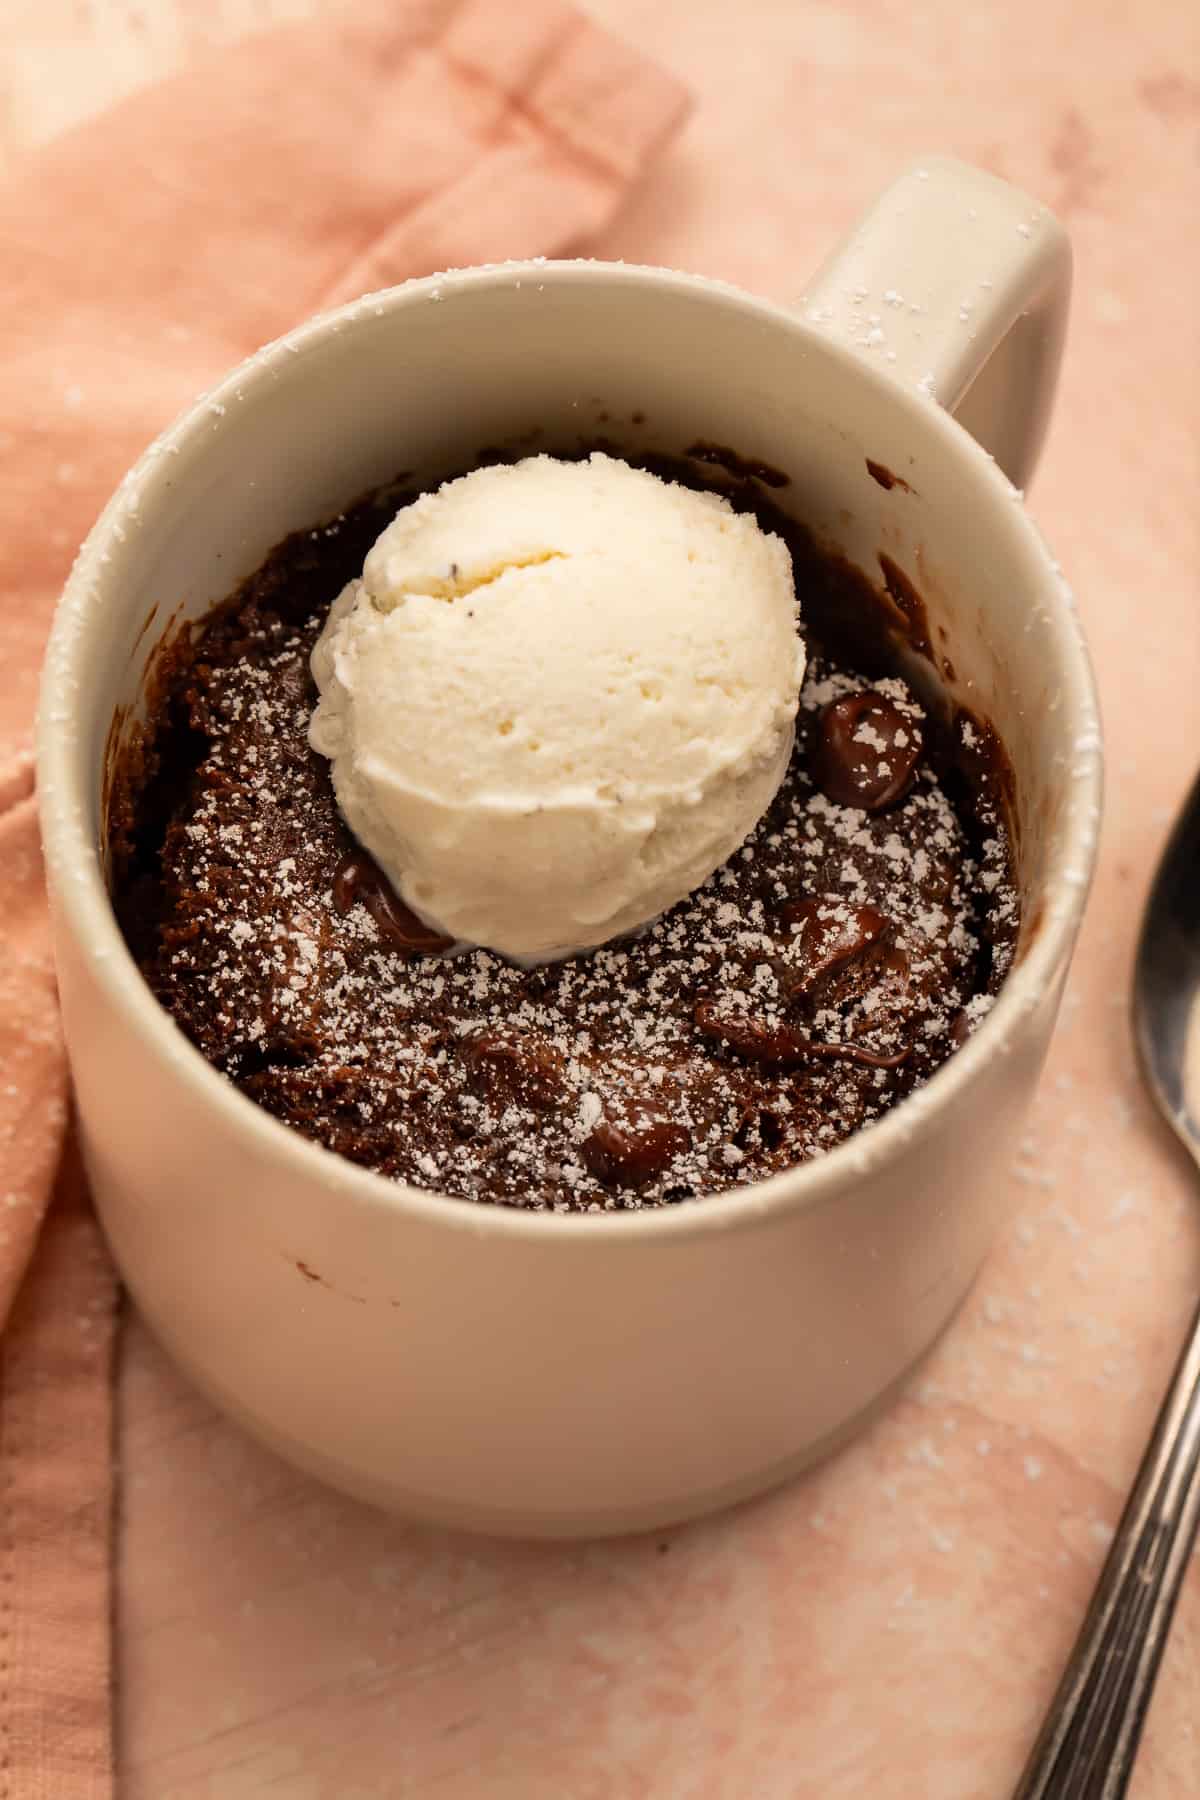
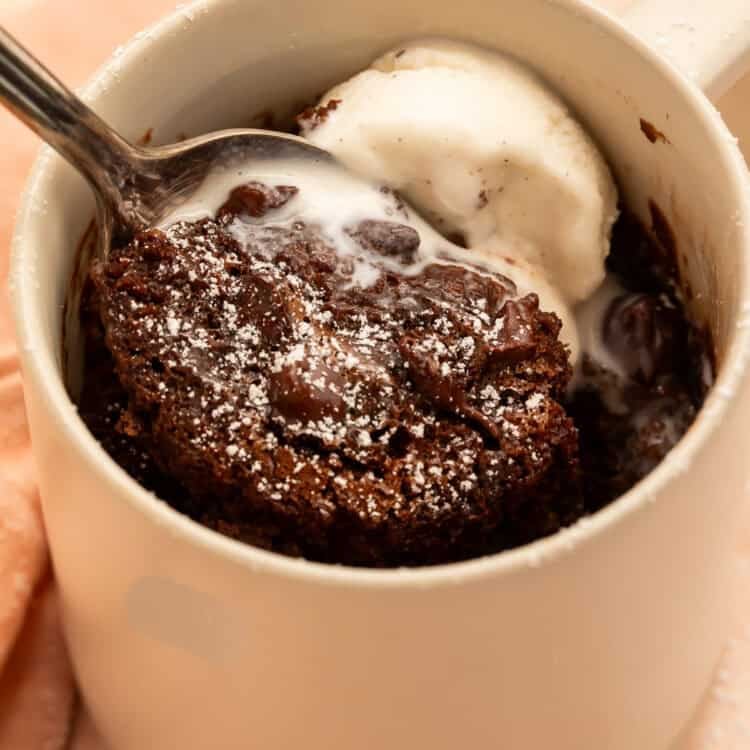
- Scoop of vanilla ice cream. Of course, for that classic hot-cake-meets-cold-ice-cream situation. It’s my number #1 go-to here.
- Chopped toasted pecans, walnuts, or a small pinch of flaky sea salt. They add nice tastes and textures to the chocolate mug cake.
- Coconut flakes or powdered sugar. The healthier side is obviously coconut flakes, while the powdered sugar is a little more indulgent.
Storage Instructions
This is definitely an “eat it fresh” recipe. Microwave mug cakes tend to become firmer and drier as they sit. If you want to save some for later, cover the cooled mug and put it in the fridge for up to 2 days. Reheat for 10-15 seconds in the microwave, just until warm.
Definitely do not freeze this; a single-serving cake thaws out in a mucky mess usually.
Recipe FAQs
Is this gluten free mug cake dairy free?
It can be. The recipe calls for milk of choice, so almond, coconut, or oat milk all work, and it uses neutral-flavored oil rather than butter. Use dairy-free chocolate chips and the whole thing is dairy free.
Can you make a mug cake without a microwave?
Yes. Use an oven-safe mug, place it on a baking sheet, and bake at 350° Fahrenheit for 15 to 20 minutes.
Why did my mug cake turn out gummy?
Be careful of overmixing and overcooking. Stir only until the dry ingredients disappear, then stop. Microwave just until the top is set but the center remains slightly glossy, so cook in short bursts!
If you loved this recipe as much as we did, don’t forget to leave us a review below. ★ Follow Easy Healthy Recipes on Pinterest, Facebook, and Instagram, too!
For more delicious recipes, visit our sister sites, 40 Aprons and Easy Cheap Recipes.
Gluten Free Mug Cake
This simple microwave recipe takes a few basic ingredients and turns them into a delicious, moist, single-serving chocolate cake that's also entirely gluten-free.

mug cake
Ingredients
- 2 tablespoons unsweetened cocoa powder, preferably Dutch-process
- 1 tablespoon hot brewed coffee or hot water
- 3 tablespoons whole milk
- 2 tablespoons neutral oil, such as vegetable or avocado oil
- 1 large egg yolk
- ¼ teaspoon vanilla extract
- 3 tablespoons gluten-free 1:1 flour blend containing xanthan gum
- 2 tablespoons granulated sugar
- 1 tablespoon packed brown sugar
- ¼ teaspoon baking powder
- ¹⁄₁₆ teaspoon fine salt, or one generous pinch
- 1 tablespoon chocolate chips, divided if desired

Equipment
- small whisk
- microwave-safe coffee mug 10-ounce or 12-ounce mug
- Microwave
- toothpick or butter knife
- small plate or paper towel
Instructions
- Add 2 tablespoons cocoa powder and 1 tablespoon hot brewed coffee or hot water to a 10- to 12-ounce microwave-safe mug. Whisk until they form a smooth, glossy paste with no dry cocoa remaining.
- Add 3 tablespoons whole milk, 2 tablespoons neutral oil, 1 large egg yolk, and ¼ teaspoon vanilla extract. Whisk until the mixture is completely smooth and the yolk is fully incorporated.
- Add 3 tablespoons gluten-free flour, 2 tablespoons granulated sugar, 1 tablespoon packed brown sugar, ¼ teaspoon baking powder, and ¹⁄₁₆ teaspoon fine salt. Stir gently just until no dry streaks remain. Do not overmix.
- Fold in most of the 1 tablespoon chocolate chips, reserving a few for the top if desired. Press the reserved chips lightly into the surface of the batter.
- Microwave on high for 45 seconds. Check the center, then continue microwaving in 10-second bursts until the top is just set and the center looks slightly underdone and glossy. Total cooking time will usually be 55 to 75 seconds, depending on the microwave’s wattage.
- Let the mug cake rest for 1 -2 minutes. The residual heat will finish cooking the center and give it a soft, fudgy consistency. Enjoy warm directly from the mug, and add any topping you like.
Notes
Mixing: For less clean-up, you can mix the ingredients together right in your mug, instead of using a separate bowl.
Flour: We used King Arthur’s Gluten-Free Measure-for-Measure Flour which contains xanthan gum.
Xanthan Gum: If your all-purpose gluten-free flour doesn’t include xanthan gum, you do need to add some in separately. Your cake won’t have the right texture if you don’t use xanthan gum. For a recipe this small, you should only need a dash.
Bake Time: Every microwave is different. Our cake was ready after 60 seconds, but you may need additional time. Be careful not to microwave it too much, or your cake will be very dry.
Make it Dairy Free: Use almond milk or coconut milk, and use dairy-free or vegan chocolate chips.
Make it Vegan: Use almond milk or coconut milk, and use vegan chocolate chips. Make sure your granulated sugar is 100% vegan and not filtered with bone char.
Make it Keto: Check out our keto mug brownie recipe!
Nutrition Information
Serving: 1mug cake | Calories: 635kcal | Protein: 8g | Fat: 40g | Saturated Fat: 10g | Trans Fat: 0.2g | Total Carbs: 70g | Fiber: 6g | Sugar: 47g | Net Carbs: 64g | Cholesterol: 200mg | Sodium: 138mg | Potassium: 307mg | Calcium: 186mg | Iron: 3mg
Number of total servings shown is approximate. Actual number of servings will depend on your preferred portion sizes.
Nutritional values shown are general guidelines and reflect information for 1 serving using the ingredients listed, not including any optional ingredients. Actual macros may vary slightly depending on specific brands and types of ingredients used.
To determine the weight of one serving, prepare the recipe as instructed. Weigh the finished recipe, then divide the weight of the finished recipe (not including the weight of the container the food is in) by the desired number of servings. Result will be the weight of one serving.
This may sound silly but could I put the batter in a cupcake liner and microwave it?
We haven’t tried that, so we can’t say for sure how it would turn out! Maybe a silicone cupcake liner would work? Be sure to let us know if you try it!!
Love this recipe! My family and I love to mix up a triple batch and divide it out into three mugs that we microwave one at a time. A quick, fun sweet treat, and without any of the usual gluten free texture or dryness
We’re so happy the whole family loves it! Thanks for sharing, Grace!
I dont what you all did to get good results, but I’ve tried this recipe twice (with different oils) and both times it just came out as an oily, gelatinous blob.
Oh no, we’re so sorry it wasn’t a hit! We’d love to troubleshoot this with you- did you adjust any of the ingredient’s measurements?
I used butter. It was so good. I also used 1.5 tablespoons of cocoa because I personally do not like it too rich. Plus 1 tablespoon of chocolate chips.
Thanks so much for the helpful tips, Becca! We’re so glad you like it!
Delicious! However, there’s no way I’m wasting a bowl when making a milk cupcake. Just mixed all the dry ingredients in the bottom of the mug, added all the wet ingredients, and stirred. Then I microwaved according to your directions.
Great idea! Thanks for sharing, Char!
Very easy to make! Good flavor.. I used avocado oil. still good . Looking for a bit more chocolate flavor!
We’re so glad you enjoyed it!
10/10 from my whole family! It turned out like a lava cake with batter on the bottom (which was enjoyed and delicious due to no egg in the recipe!). Any suggestions to get it to cook through? I microwaved it for 1 min, then an additional 10 sec. I thought maybe cook for 90 seconds on half power and 10 seconds from then on? I was afraid longer on full power would dry it out. Thanks for a great recipe!
So glad your family loved it, Bre! And that lava cake effect is honestly delicious 😄 For a more set center: try microwaving at 70% power for 90 seconds, then check. Every microwave is a little different, so you may need an extra 10–15 seconds. The lower power cooks it more evenly without drying out the edges. Also, letting it sit in the mug for 1 minute after cooking helps it set up a bit more. Enjoy! 🧁
I’ve made lots of chocolate mug cakes and this one beats them all! No eggs, GF, tender, very rich chocolate flavor and easy. My husband, who isn’t GF, said a very loud WOW!
We’re so glad it was a hit! Thanks for sharing, Jan!
Very good recipe – I think I may have microwaved it a bit long as I feel it is a little dry, nothing a glass of milk alongside it can’t fix though.
Oh no! We’re glad you still enjoyed it, Kenya!
Delicious gluten free mug cake & quick to make too!
We’re so glad you enjoyed it!
I don’t understand the negatives. This is quite good. I will keep this recipe.
Thanks so much, Donna!