Thai Peanut Chicken High Protein Meal Prep Bowls

Posted: 09/02/26
Updated: 10/07/26
This post may contain affiliate links. Please read our disclosure policy.
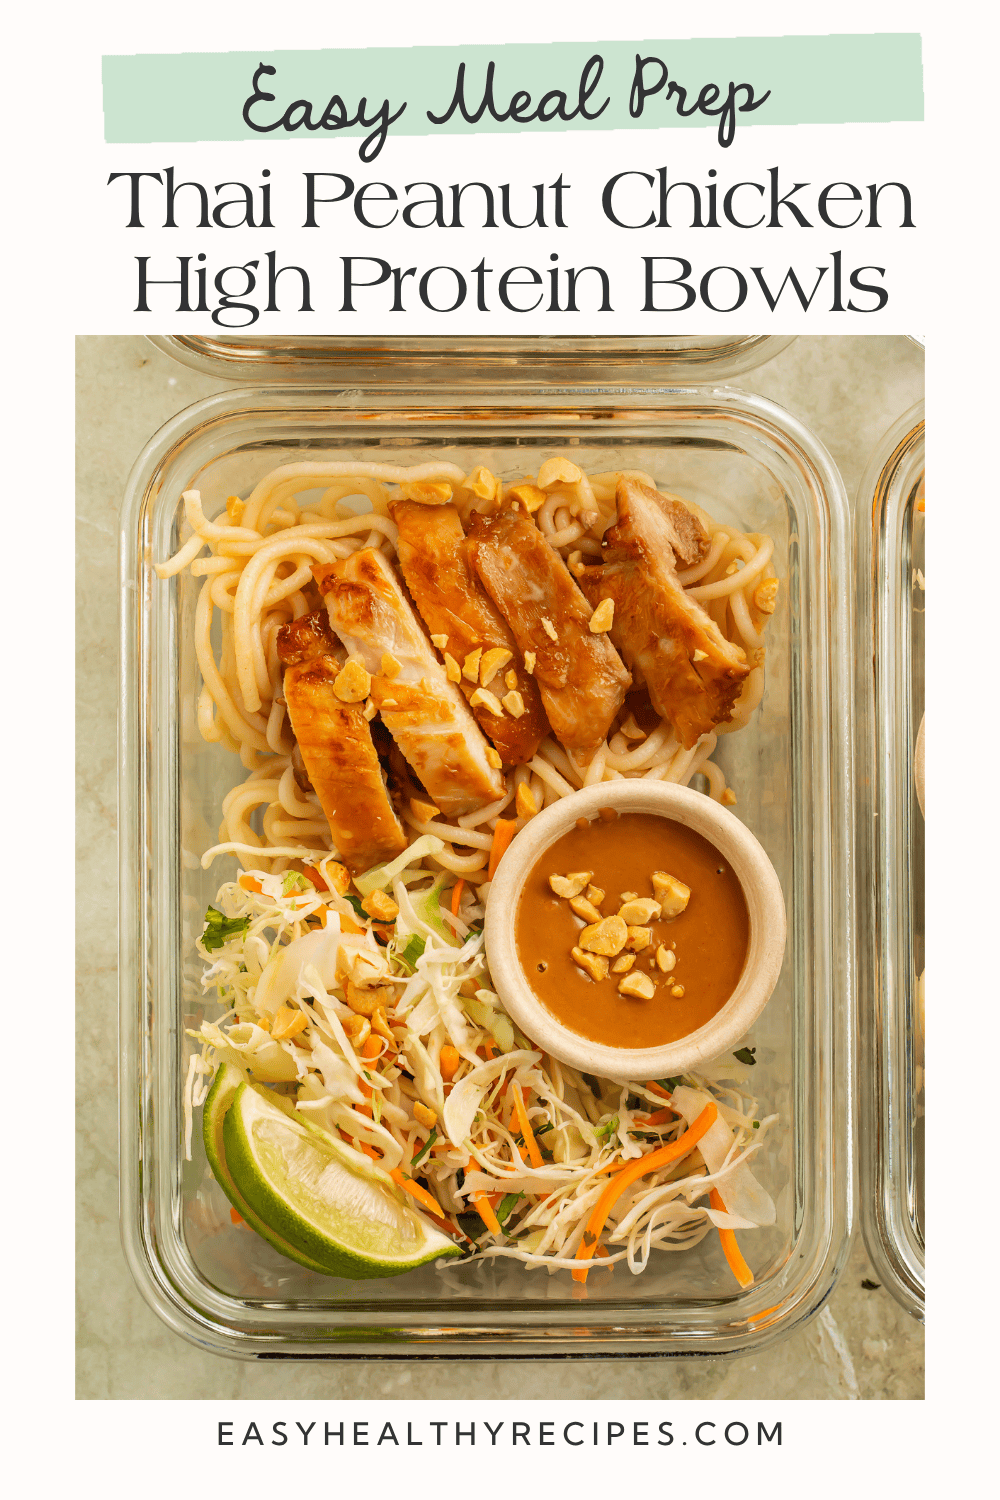
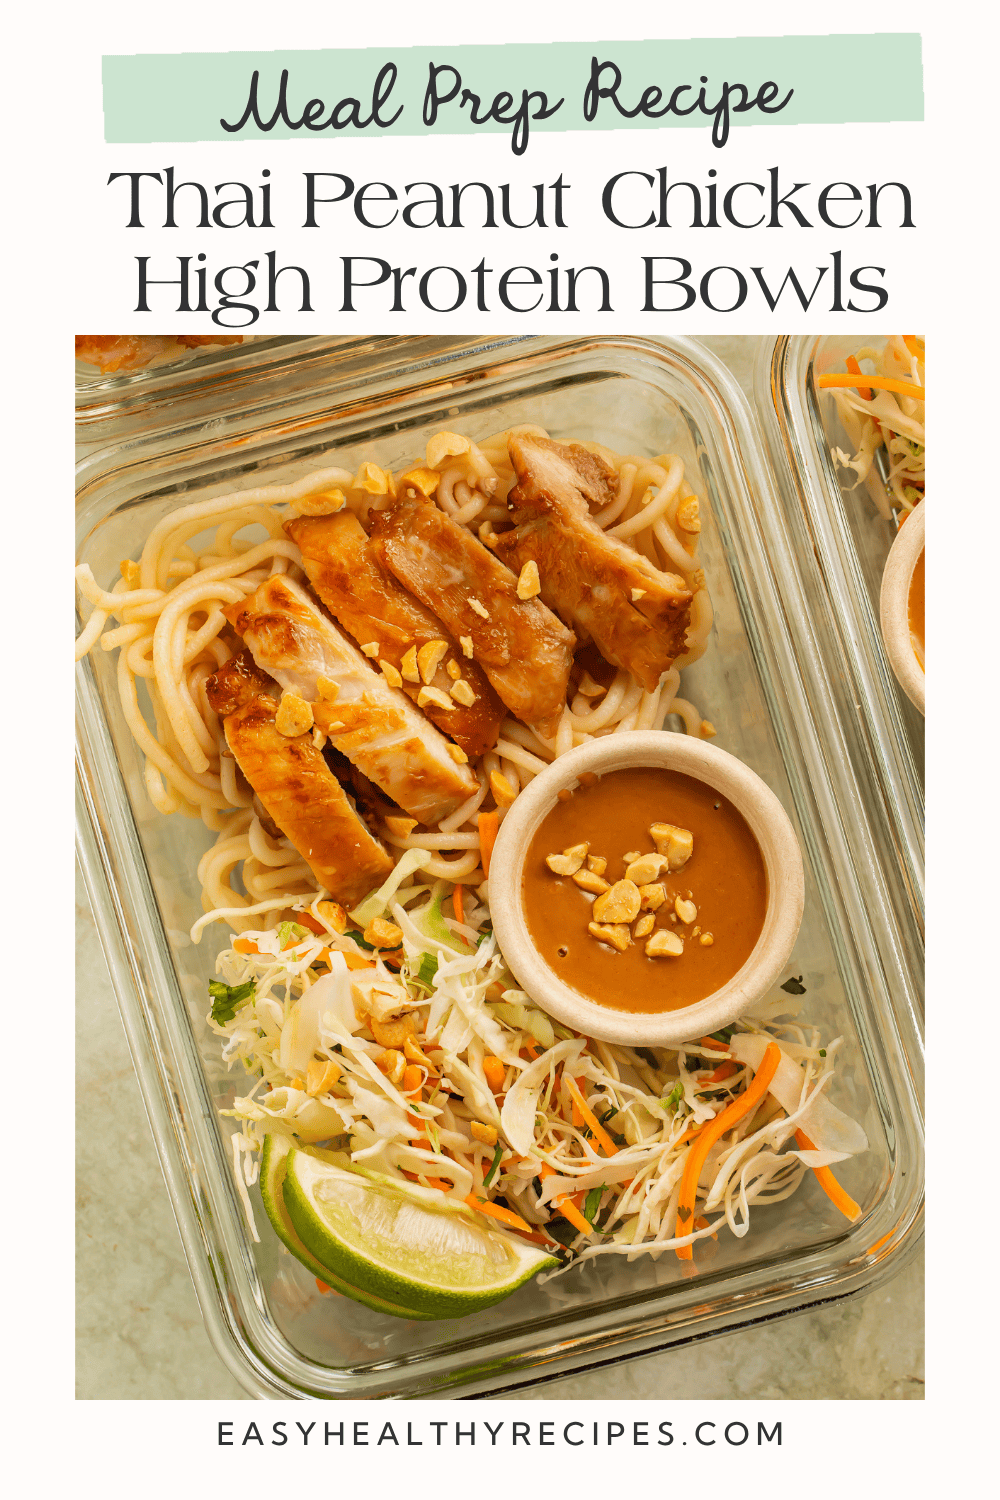
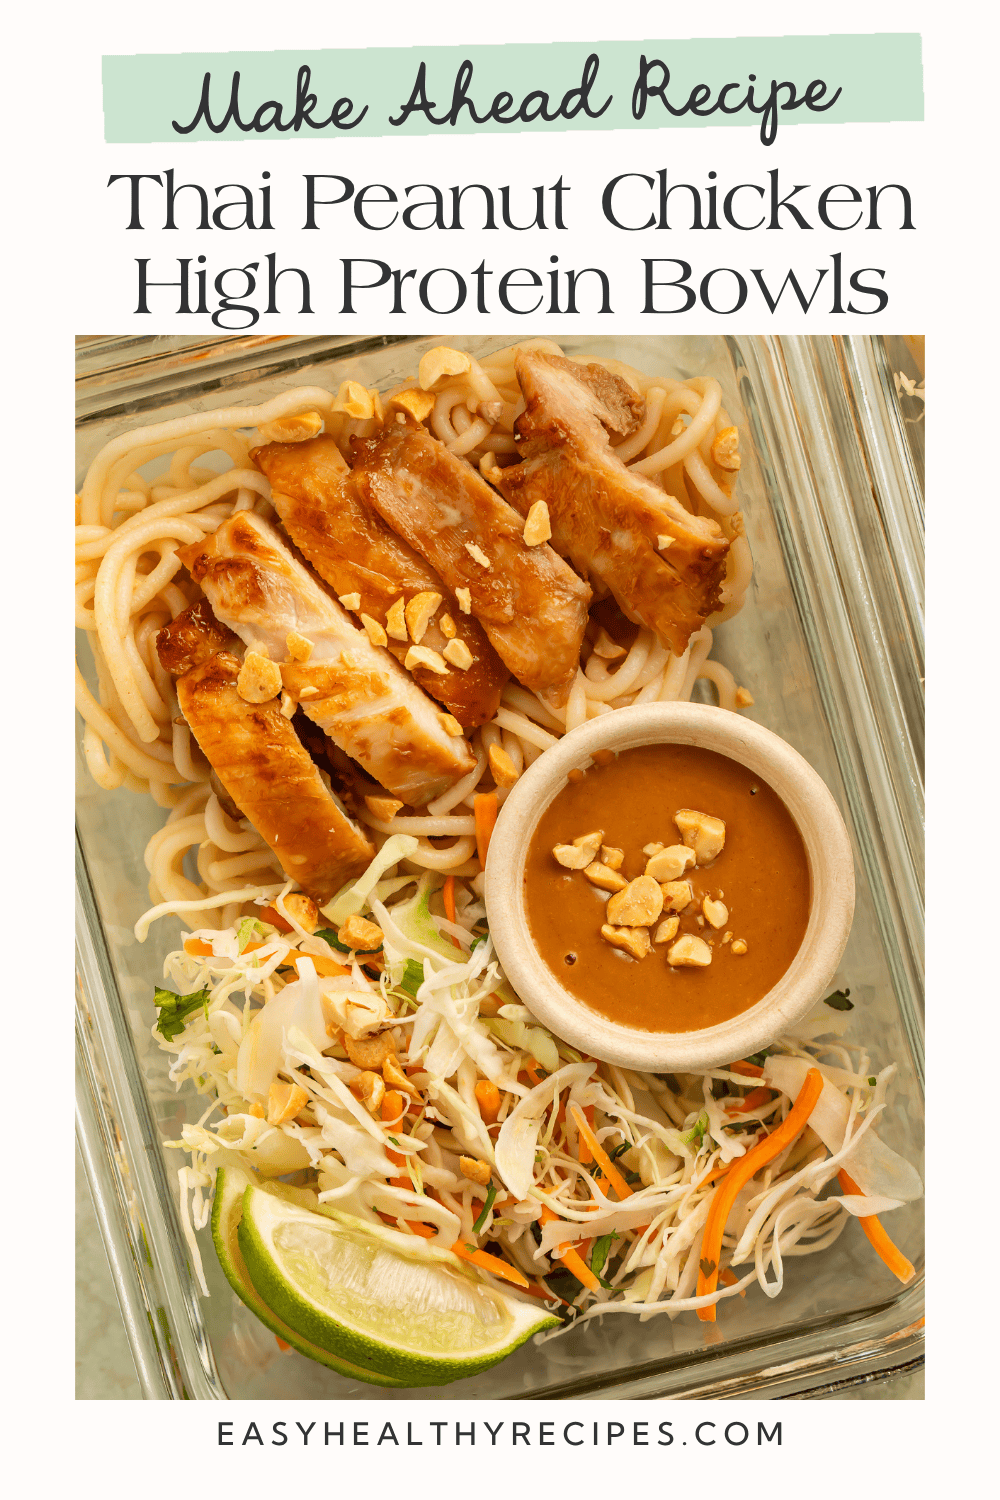
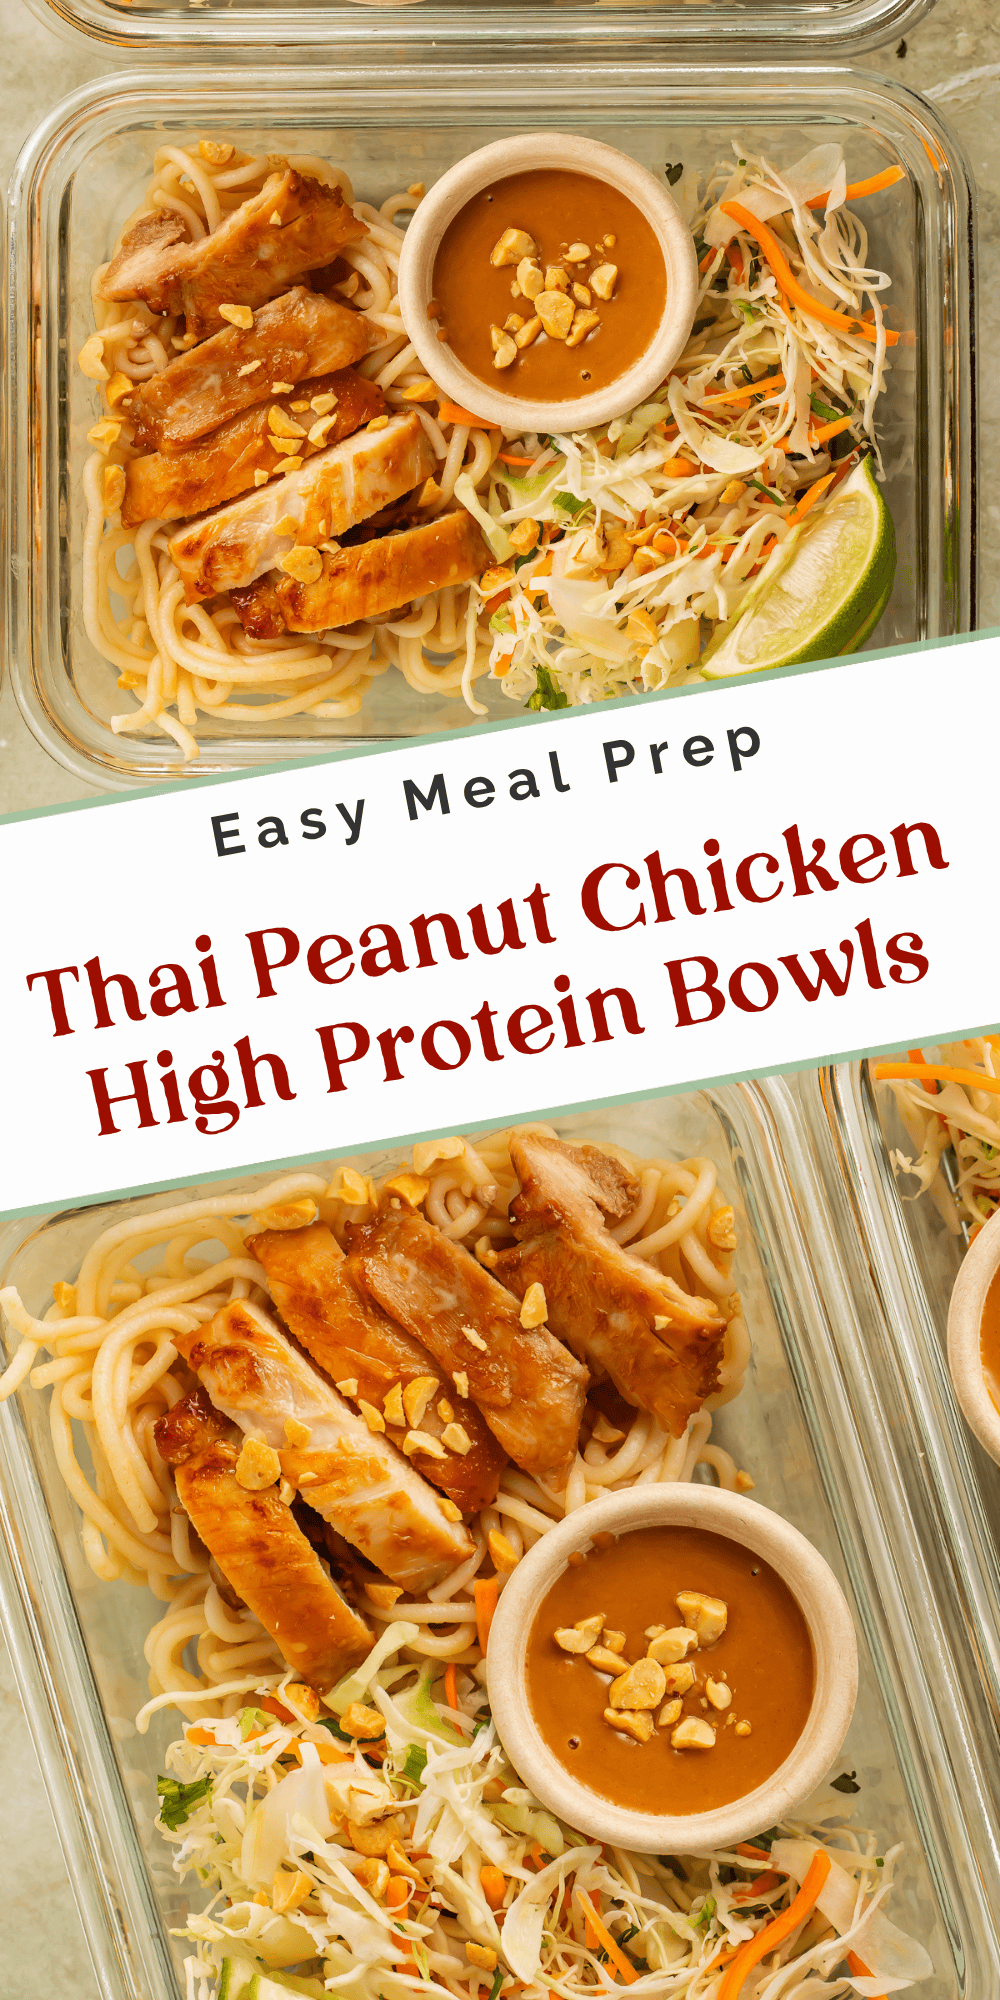
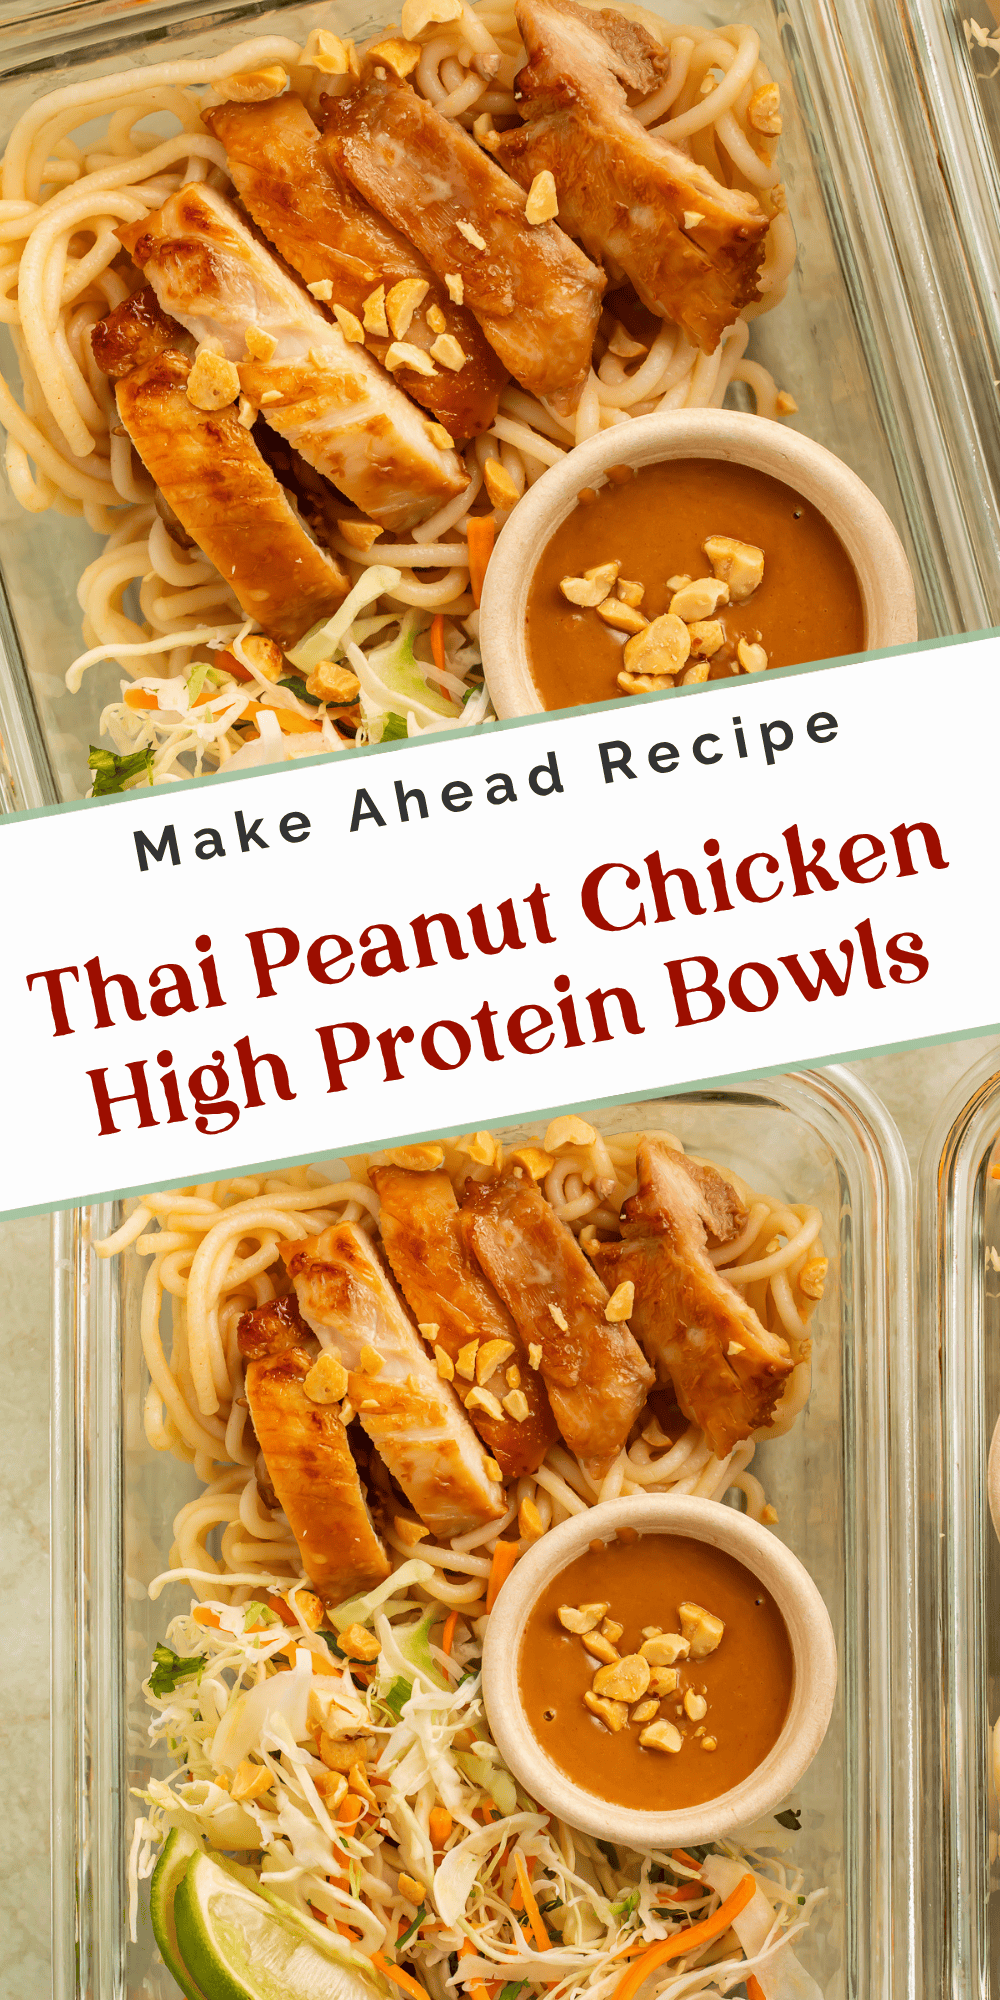
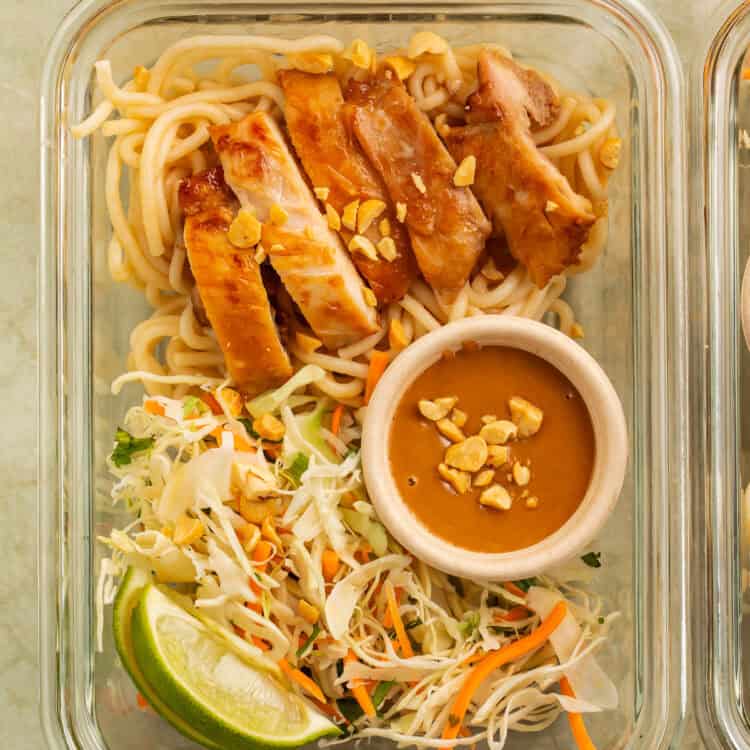
If you’re struggling with meal prep ideas, try these Thai Peanut Chicken Meal Prep Bowls. Tender, caramelized chicken thighs, cool, crunchy slaw, rice noodles, and a creamy, tangy peanut sauce make this ridiculously satisfying. They’re SO good, and I never get tired of these flavors, which makes repeat meals something to look forward to!
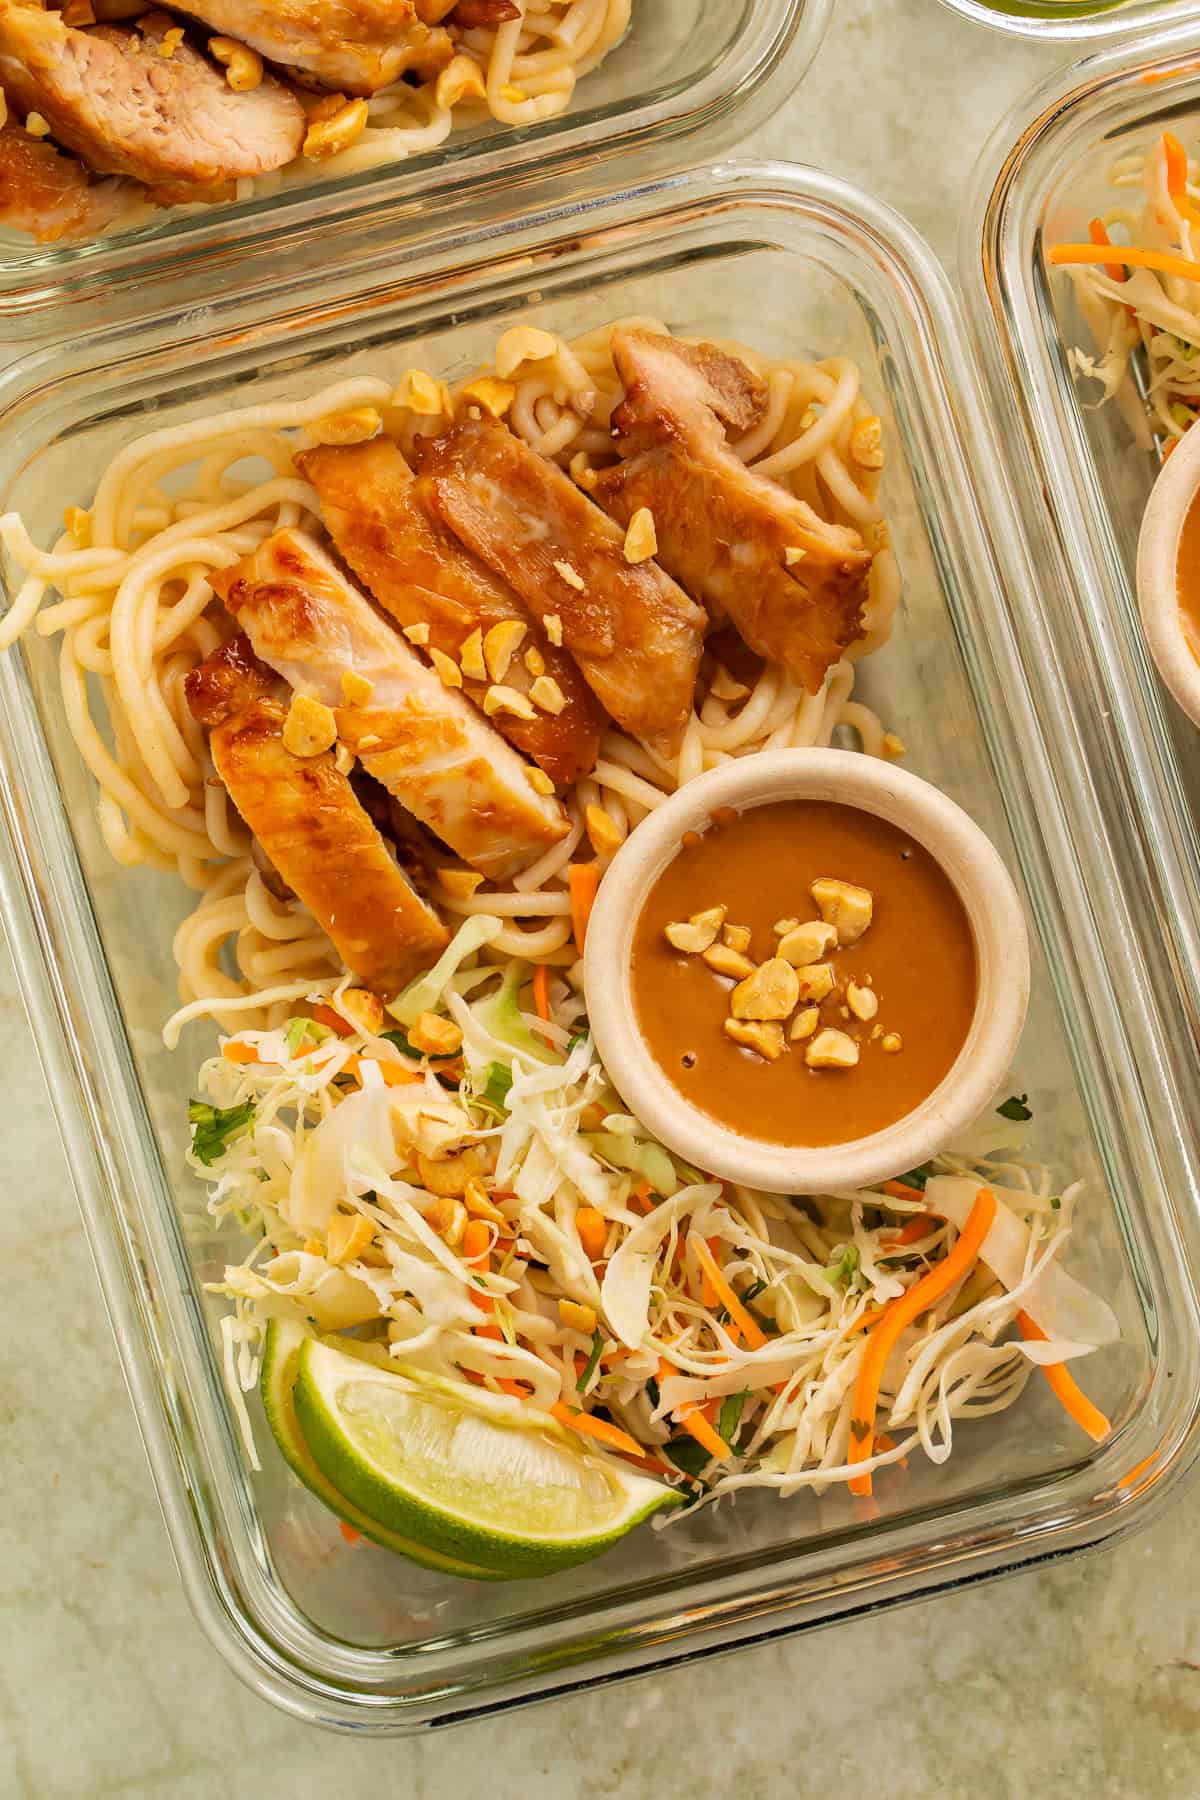
Why This Meal Prep Recipe is Amazing
- Meal prep is necessary for my busy life (and yours), so I created this easy recipe specifically for that purpose. A quick-cooking protein and carb with fresh veggies is simple to execute and store for later use.
- These meal prep bowls are far from boring! Soy sauce, fish sauce, lime, ginger, garlic, and peanut butter create a salty-sweet-tangy combination that sustains the taste and interest factor.
- If you want to boost your nutrition, this recipe has 48 grams of protein and offers healthy carbs with the light rice noodles and veggie-intensive slaw.
- Versatility is key for good meal prep in my world, so these work hot or cold—warm the chicken and noodles, or eat the entire bowl chilled like a noodle salad. Gotta love it!
Cheryl’s Tested Notes & Tips
- Don’t skip marinating the chicken! I always do a minimum of 30 minutes, and if you have the time, 2-4 hours creates deeper flavors (or even overnight), but even 1-2 hours works!
- Expect the sauce to thicken a little too much. It may not seem like it, but refrigerated peanut sauce gets very thick. I stir in warm water or lime juice, 1 teaspoon at a time, before serving.
- Avoid sticky noodles. Something I hate with rice noodles, but there’s a cure. I always rinse the cooked noodles under cold water, drain them well, and toss them with 1 teaspoon neutral oil.
Ingredient Notes
- Highly recommend chicken thighs here for moistness and flavor. Chicken breasts can also work, but start checking them early to prevent drying out and overcooking.
- Use smooth, creamy peanut butter. It creates the easiest sauce. You could use natural peanut butter too; just stir it well before measuring.
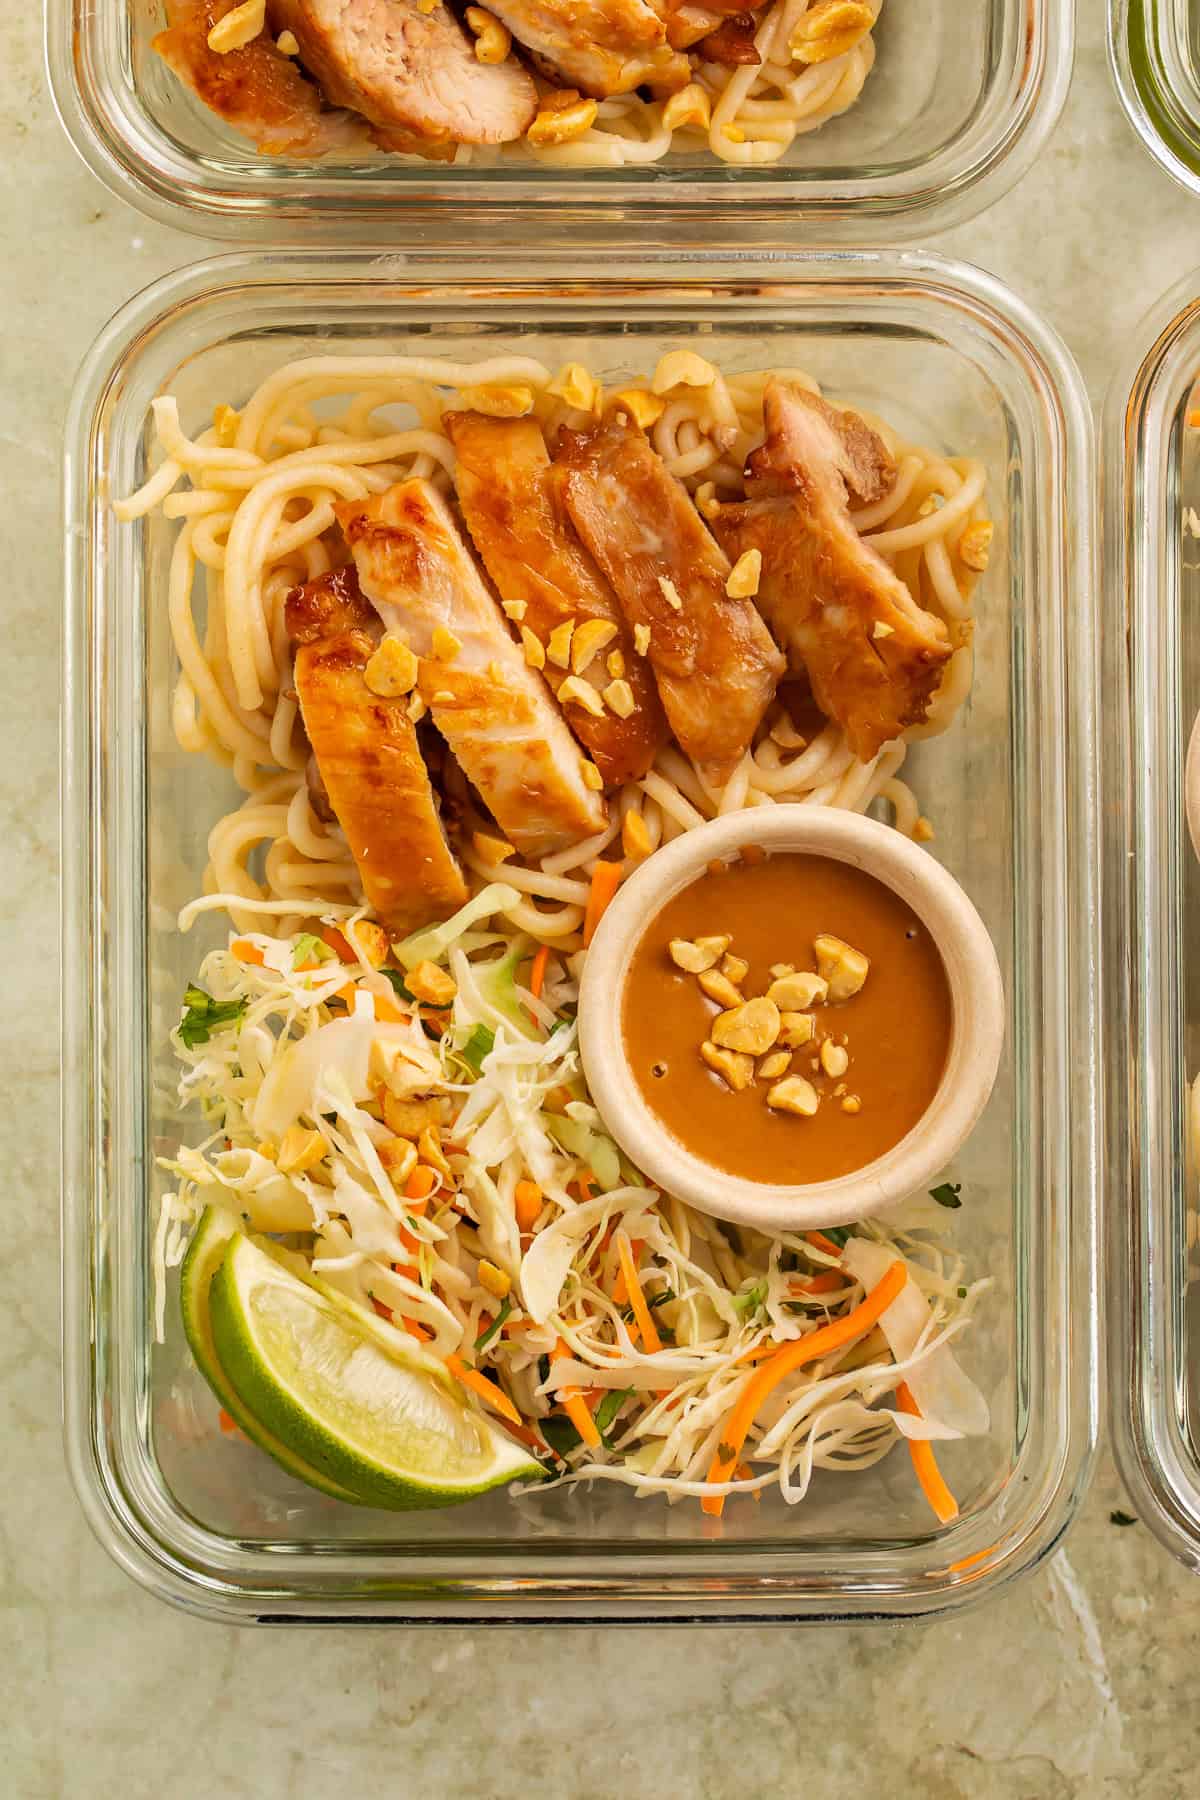
- I choose medium-width rice noodles. They’re gluten-free, totally takeout style, and hold the sauce and cradle the chicken nicely. For something lighter, use 4 ounces of noodles instead of 8 and add extra cucumber, bell pepper, or snap peas.
- I’m a fan of regular soy sauce. It gives the bowl a bold, salty umami flavor. Low-sodium soy sauce keeps the seasoning a wee gentler. Use tamari for a gluten-free option.
- Some people hate the taste of fish sauce. Sure, the smell is strong straight from the bottle, but it mellows as the chicken cooks and adds savory depth. If it absolutely makes you gag, leave it out and add another 1-2 teaspoons of soy sauce; just know the flavor will be slightly different.
How to Pack These Meal Prep Bowls
- My fave meal prep containers are the Ello Everyday glass containers. They hold up to 3 cups per container, so there’s enough room to toss everything with the peanut sauce.
- Pack the noodles and chicken together. Divide the peanut sauce among four 2-ounce leakproof cups. I use cute little compostable sauce/souffle cups.
- Let the chicken and noodles cool before sealing the containers. This prevents condensation from making the noodles and slaw soggy.
If you want to know why I love the Ello Everyday containers, check out my full review of them!
Storage Instructions
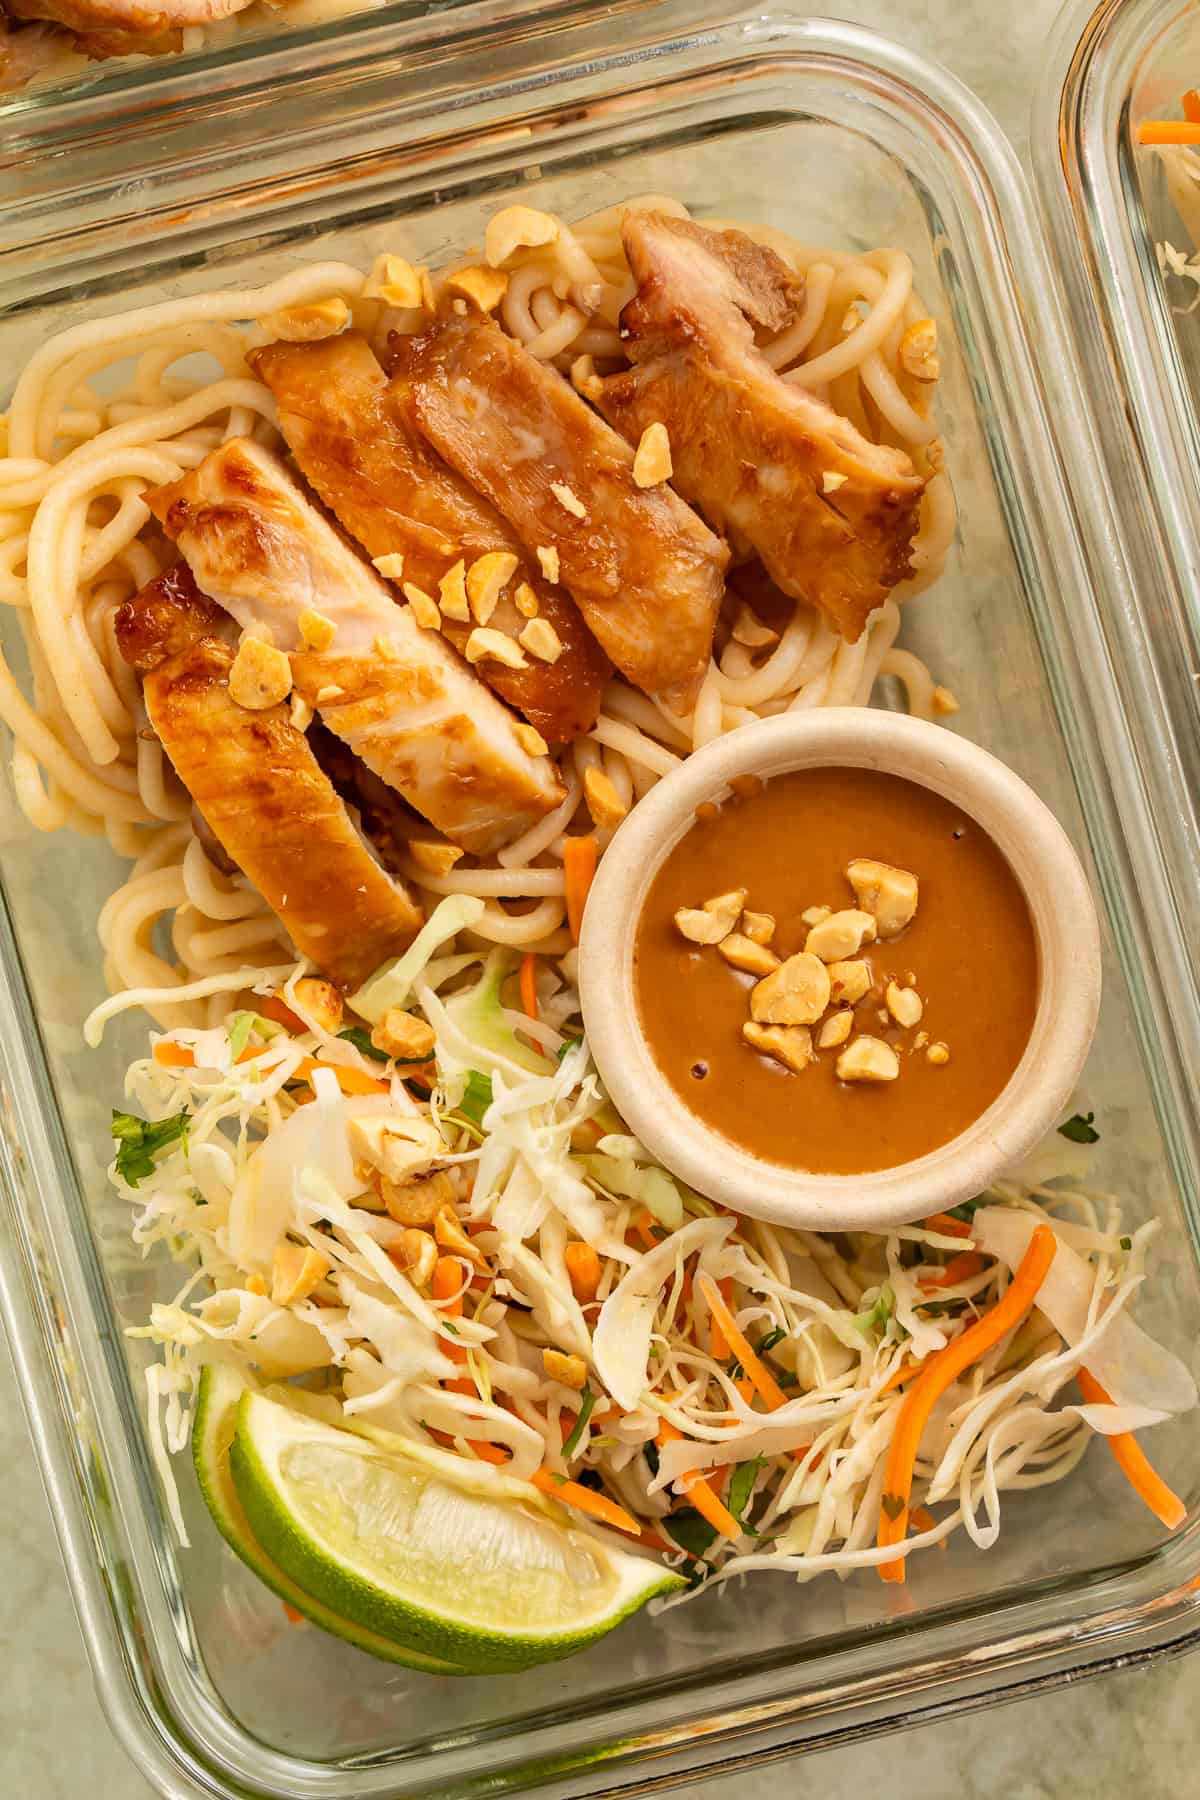
- Refrigerator: Store the bowls for up to 4 days. I always label them with the preparation date so there’s no fridge math later.
- Freezer: Freeze the cooked chicken separately for up to 4 months. Definitely don’t freeze the assembled bowls; nothing will thaw properly, and it’ll be a sloppy mess. Make fresh noodles and slaw after thawing the chicken.
Recipe FAQs
- Can I use chicken breasts instead of thighs? Yess, just slice large chicken breasts into thinner cutlets so they cook evenly. Cooking time might be shorter, so use an instant-read thermometer and remove them from the heat once they reach 165°F.
- How do I keep rice noodles from sticking during meal prep? I always rinse the cooked noodles under cold water, drain them well, and toss them with 1 teaspoon neutral oil. Storing the peanut sauce separately also prevents the noodles from absorbing too much liquid.
- Can these peanut chicken bowls be eaten cold? OMG, yes. So useful, if you lack time. The chicken, noodles, and crunchy slaw make an excellent cold noodle bowl.
If you loved this recipe as much as we did, don’t forget to leave us a review below. ★ Follow Easy Healthy Recipes on Pinterest, Facebook, and Instagram, too!
For more delicious recipes, visit our sister sites, 40 Aprons and Easy Cheap Recipes.
Thai Peanut Chicken High Protein Meal Prep Bowls
Juicy marinated chicken, tender rice noodles, crisp lime slaw, and creamy peanut sauce come together in a delicious make-ahead meal that tastes just as good cold as it does warm!

Ingredients
For the Chicken
- 1½ pounds boneless, skinless chicken thighs
- 2 tablespoons soy sauce or gluten-free tamari
- 1 tablespoon fish sauce
- 1 tablespoon packed brown sugar
- 2 garlic cloves, minced
- 1 tablespoon fresh lime juice
- 1 tablespoon vegetable oil or other neutral oil for cooking
For the Peanut Sauce
- ½ cup creamy peanut butter
- 3 tablespoons soy sauce or gluten-free tamari
- 2 tablespoons rice vinegar
- 2 tablespoons packed brown sugar
- 1 tablespoon fresh lime juice
- 1 teaspoon grated fresh ginger
- 1 garlic clove, minced
- ¼ cup warm water, plus more as needed
- 1 pinch red pepper flakes, optional
For the Noodles
- 8 ounces rice noodles
- 1 teaspoon vegetable oil vegetable or other neutral oil
For the Slaw
- 3 cups shredded cabbage, green, red, or a mixture
- 1 cup shredded carrots
- 2 tablespoons chopped fresh cilantro
- 2 scallions, thinly sliced
- 2 tablespoons fresh lime juice
- 1 tablespoon olive oil
- ½ teaspoon kosher salt, plus more to taste
To Finish
- ¼ cup crushed peanuts
- 1 lime, cut into 4 wedges

Equipment
- Large skillet
- medium pot
- Large mixing bowl or zip-top bag
- Colander
- 2 small mixing bowls
- 4 meal prep containers
- 4 small sauce containers or compostable sauce/souffle cups
Instructions
- Place 1½ pounds chicken thighs in a bowl or zip-top bag. Add 2 tablespoons soy sauce, 1 tablespoon fish sauce, 1 tablespoon brown sugar, 2 minced garlic cloves, and 1 tablespoon lime juice. Toss until evenly coated. Refrigerate for at least 30 minutes or up to overnight.
- Heat 1 tablespoon vegetable oil in a large skillet over medium-high heat. Remove the chicken from the marinade, letting the excess drip off, and place it in the hot skillet. Discard the remaining marinade.
- Cook the chicken for approximately 6 to 7 minutes per side, or until caramelized and the thickest part reaches 165°F. Work in batches if necessary. Rest for 5 minutes, then slice or dice.
- While the chicken cooks, prepare 8 ounces rice noodles according to the package directions. Drain and rinse thoroughly under cold water. If preparing the bowls more than 1 day ahead, toss the noodles with 1 teaspoon vegetable oil to help prevent sticking.
- Whisk together ½ cup peanut butter, 3 tablespoons soy sauce, 2 tablespoons rice vinegar, 2 tablespoons brown sugar, 1 tablespoon lime juice, 1 teaspoon grated ginger, 1 minced garlic clove, and 1 pinch red pepper flakes, if using. Gradually whisk in ¼ cup warm water until the sauce is smooth and pourable. Add a little more water if needed.
- In a separate bowl, combine 3 cups cabbage, 1 cup carrots, 2 tablespoons cilantro, and 2 sliced scallions. If serving immediately, toss with 2 tablespoons lime juice, 1 tablespoon olive oil, and ½ teaspoon kosher salt. Taste and add more salt if desired
- Divide the cooked rice noodles among 4 meal-prep containers. Top each portion with one-quarter of the sliced chicken and slaw. Sprinkle each bowl with 1 tablespoon crushed peanuts and add 1 lime wedge. Divide the peanut sauce among 4 small leakproof containers and store it with the bowls. Drizzle with the peanut sauce and squeeze the lime over each bowl just before eating.
Notes
Substitute with chicken breasts: Use 1½ pounds boneless, skinless chicken breasts for the thighs. If the breasts are especially thick, slice them into thinner cutlets so they cook evenly. Cooking time varies, so check that the thickest portion reaches 165°F.
Make it gluten-free: Replace the soy sauce with an equal amount of tamari. This gives the bowls a similar flavor and makes them gluten-free.
Marinating time: Marinate the chicken for at least 30 minutes. 2-4 hours gives it even more flavor, but overnight produces the deepest flavor and makes the chicken SO delicious.
Nutrition Information
Calories: 816kcal | Protein: 48g | Fat: 37g | Saturated Fat: 7g | Trans Fat: 0.1g | Total Carbs: 77g | Fiber: 6g | Sugar: 17g | Net Carbs: 71g | Vitamin C: 32mg | Cholesterol: 162mg | Sodium: 2333mg | Potassium: 1012mg | Calcium: 114mg | Iron: 4mg
Number of total servings shown is approximate. Actual number of servings will depend on your preferred portion sizes.
Nutritional values shown are general guidelines and reflect information for 1 serving using the ingredients listed, not including any optional ingredients. Actual macros may vary slightly depending on specific brands and types of ingredients used.
To determine the weight of one serving, prepare the recipe as instructed. Weigh the finished recipe, then divide the weight of the finished recipe (not including the weight of the container the food is in) by the desired number of servings. Result will be the weight of one serving.
Leave a Comment