Skip to primary navigation
Skip to main content
Skip to primary sidebar
About EHR
Food Blogger Resources
Contact Me
Our Sister Site
Easy Healthy Recipes
Deliciously Easy, Often Healthier Recipes
All Recipes
Course
Appetizers
Breakfast
Casseroles
Condiments
Desserts
Drinks
Main Course
Salads
Side Dishes
Snacks
Soups
Method
Air Fryer
Baking
Grilling & Smoking
Instant Pot
Microwave
No Cooking
Slow Cooker
Stovetop
Diet
Dairy Free
Gluten Free
Grain Free
Keto
Low Carb
Vegan
Vegetarian
Whole30
Ingredient
Bacon
Beans
Beef
Chicken
Chocolate
Eggs
Frozen Foods
Fruit
Nuts & Nut Butters
Pasta
Pork
Potatoes
Rice
Seafood
Turkey
Vegetables
Search...
Display Search Bar
Home
Season
Fall
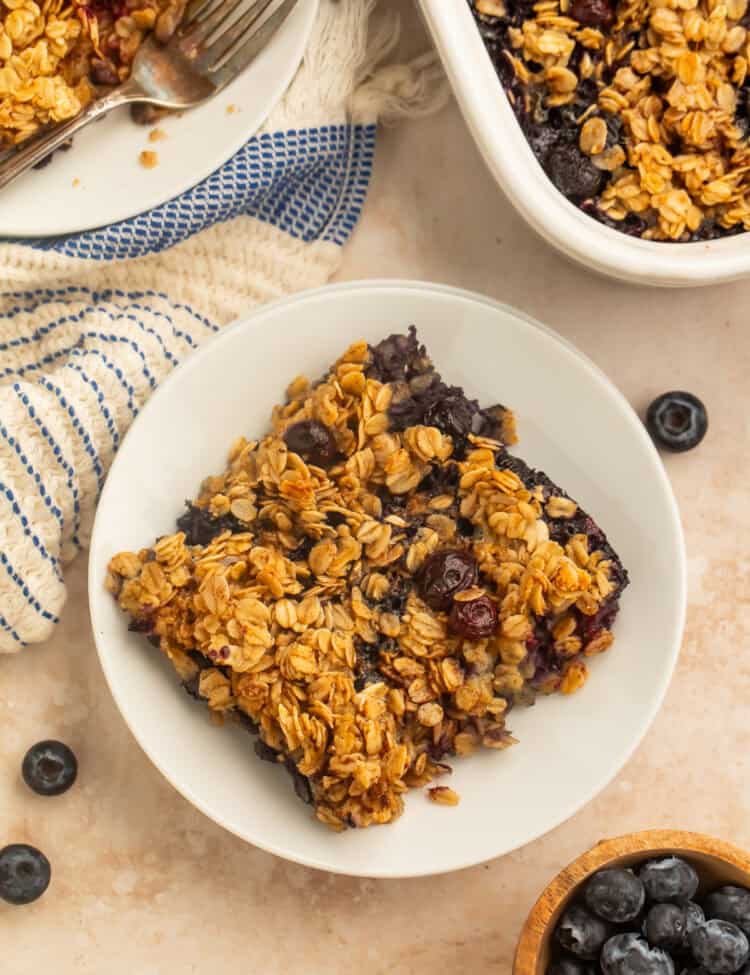
Blueberry Baked Oatmeal
How To Boil Artichokes (With 3 Dipping Sauces)
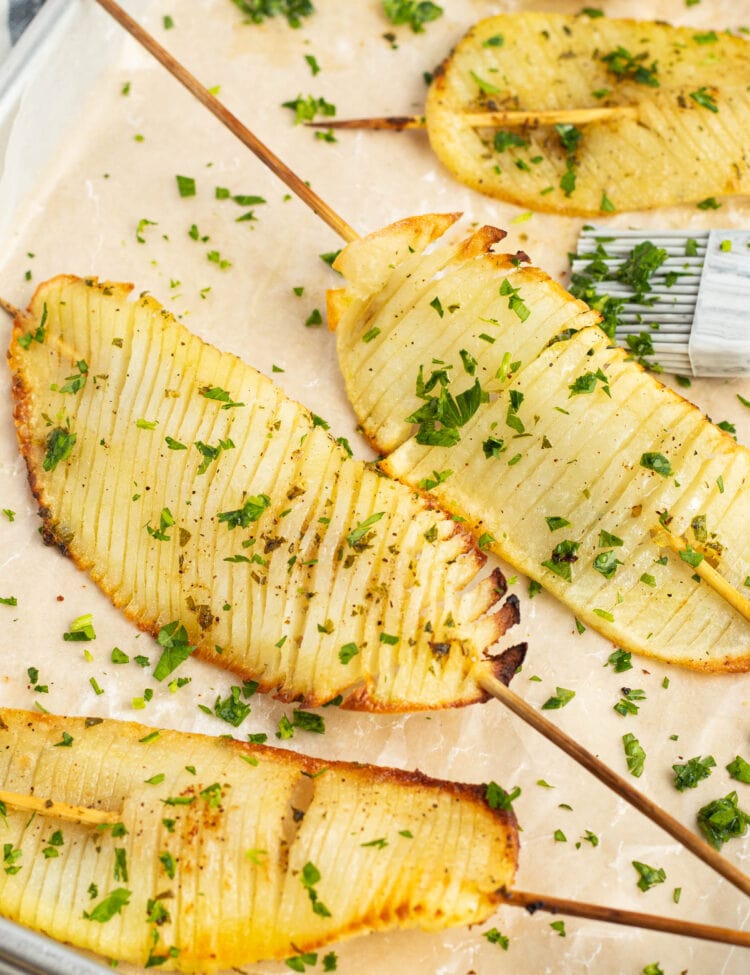
Accordion Potatoes
Air Fryer Mozzarella Sticks (Gluten-Free Option!)
Loaded Baked Potato Dip
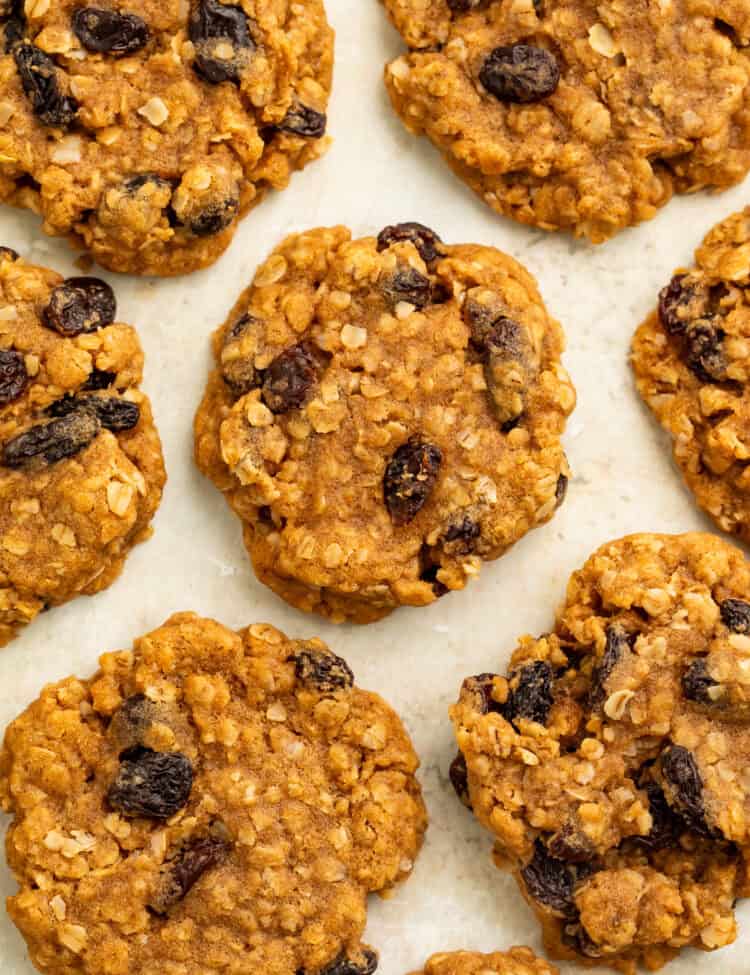
Vegan Oatmeal Raisin Cookies
Healthy Chicken Tortilla Soup
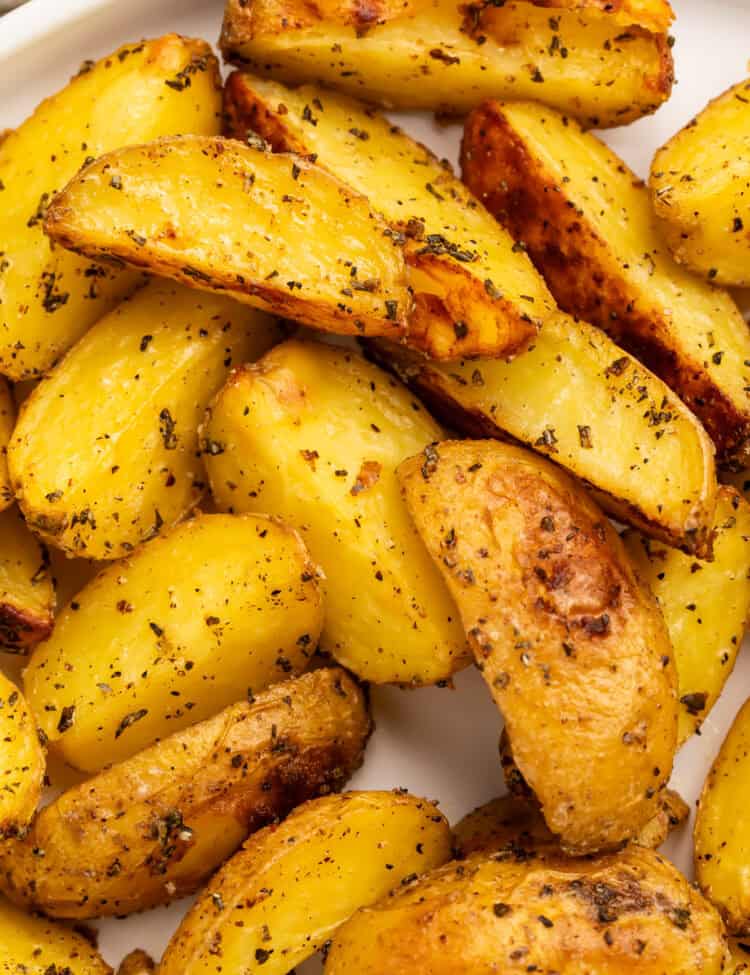
Rosemary Roasted Potatoes
Keto White Chicken Chili
Gluten Free Chili
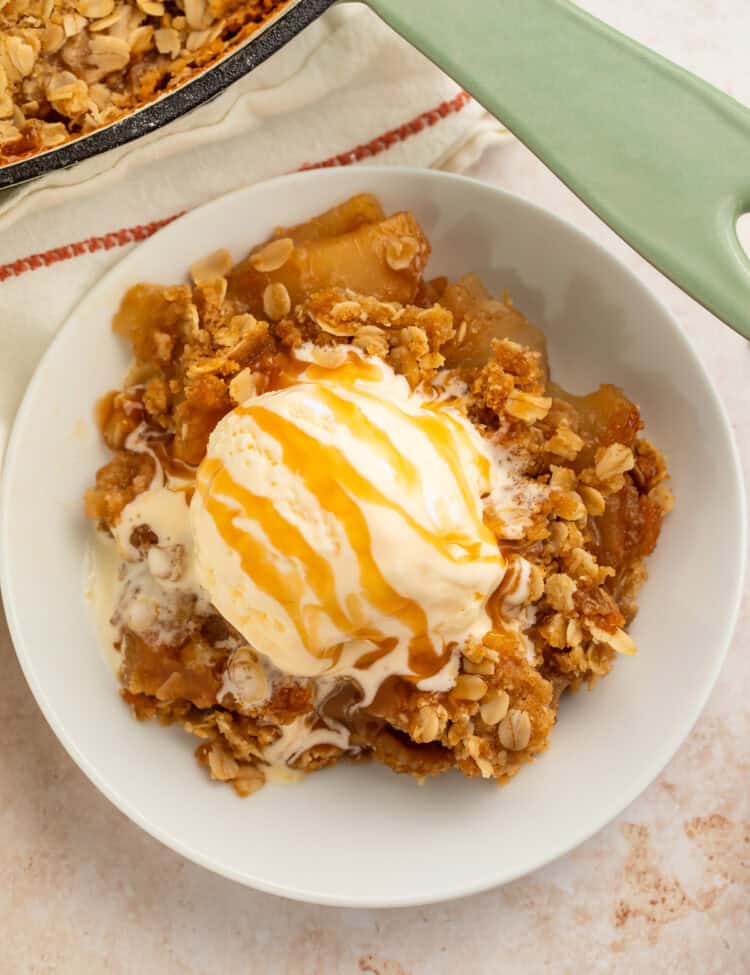
Vegan Apple Crisp
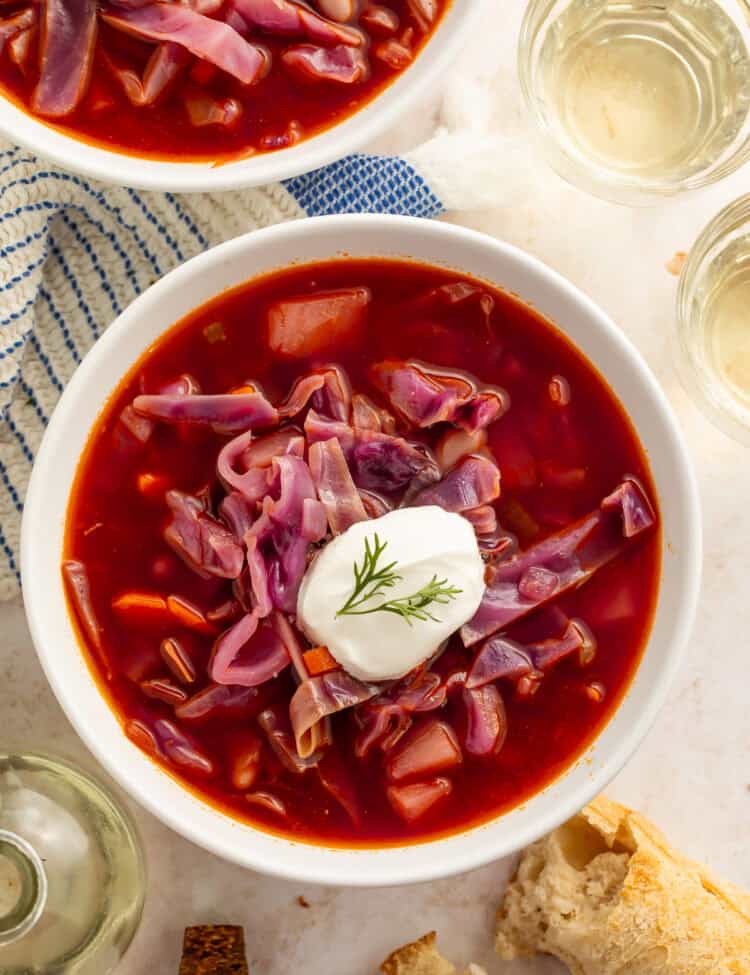
Red Cabbage Soup
Page
1
Page
2
Page
3
Interim pages omitted
…
Page
15
Next